Overview
Ready to go live with your serviceminder account? This checklist covers the must-do steps before you begin taking bookings.
Your brand may have more specific guidance, so check with your Brand Administrator before proceeding.
This article will review:
Enter Your Billing Information
As your trial period comes to an end, you'll need to enter in your billing information to ensure there is no interruption to your account.
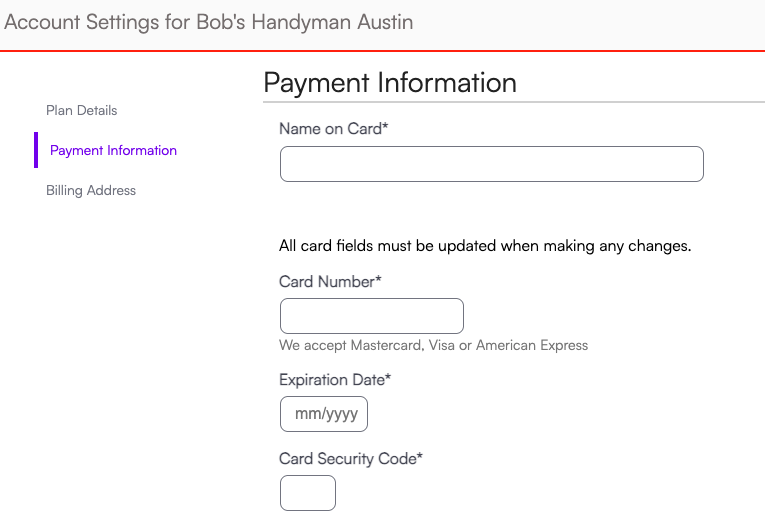
If you are responsible for payment:
Go to Control Panel > Account and enter your credit card info.
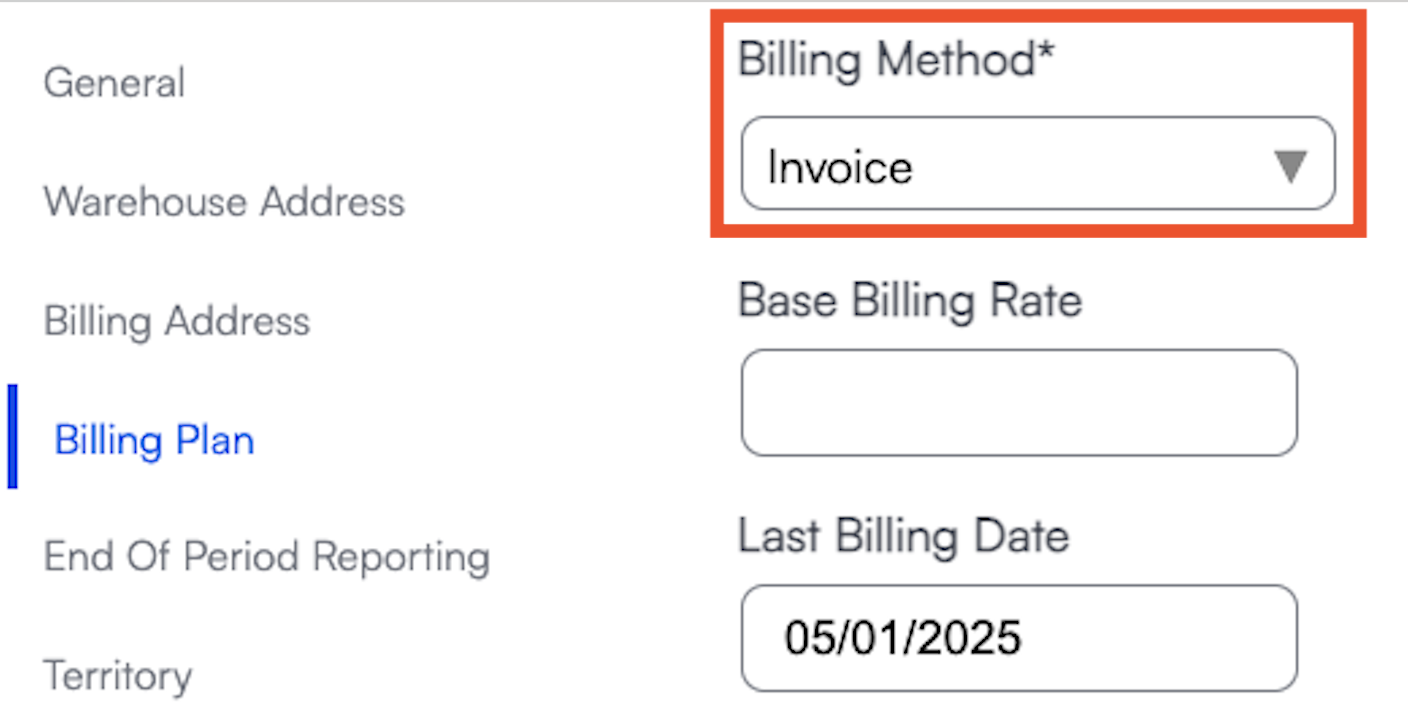
If your brand handles billing:
A Brand Administrator should go to Dashboard > Tools > Organizations > Edit, and set Invoice as the Billing Method.
Verify Your Tax Settings
Navigate to Control Panel > Invoices > Manage Tax Rates and verify the following:
- You have tax rates entered into serviceminder.
- If you integrate with QuickBooks Online, all tax rates are mapped to your QBO tax rates.
- Your tax rates are mapped by location depending on your state regulations.
- Those tax rates are applied to your contacts based on their location.
- Your Services and Parts are enabled to be taxable where applicable.
Learn more about Setting Up Taxes.
Enable Communication Settings
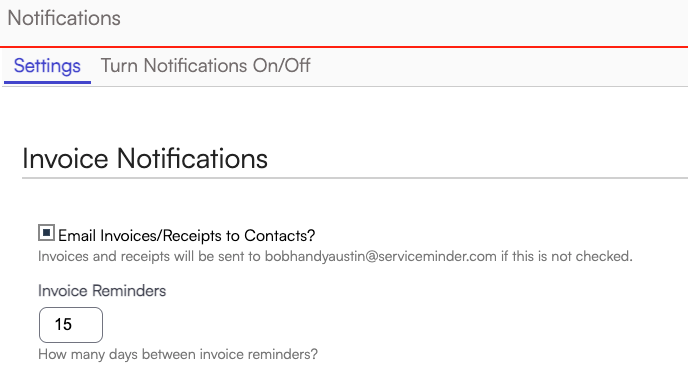
Go to Control Panel > Notifications > Settings.
-
Check the top box on the first tab to enable invoice notifications. This is your official “Go Live” switch to email invoices to customers.
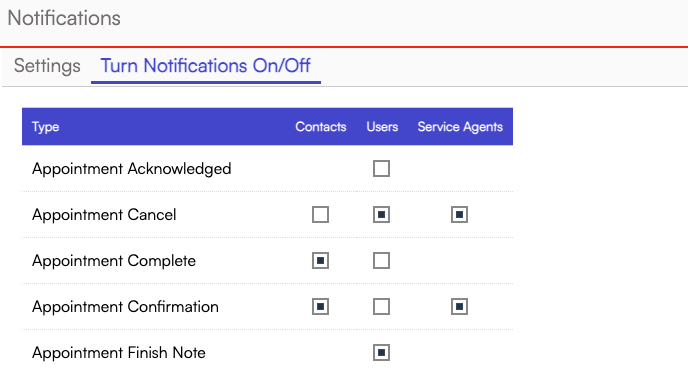
Go to the Turn On/Off Notifications tab.
-
Enable the types of messages Users, Contacts, and Service Agents should receive.
Learn more about User Notifications and Contact Notifications.
