Overview
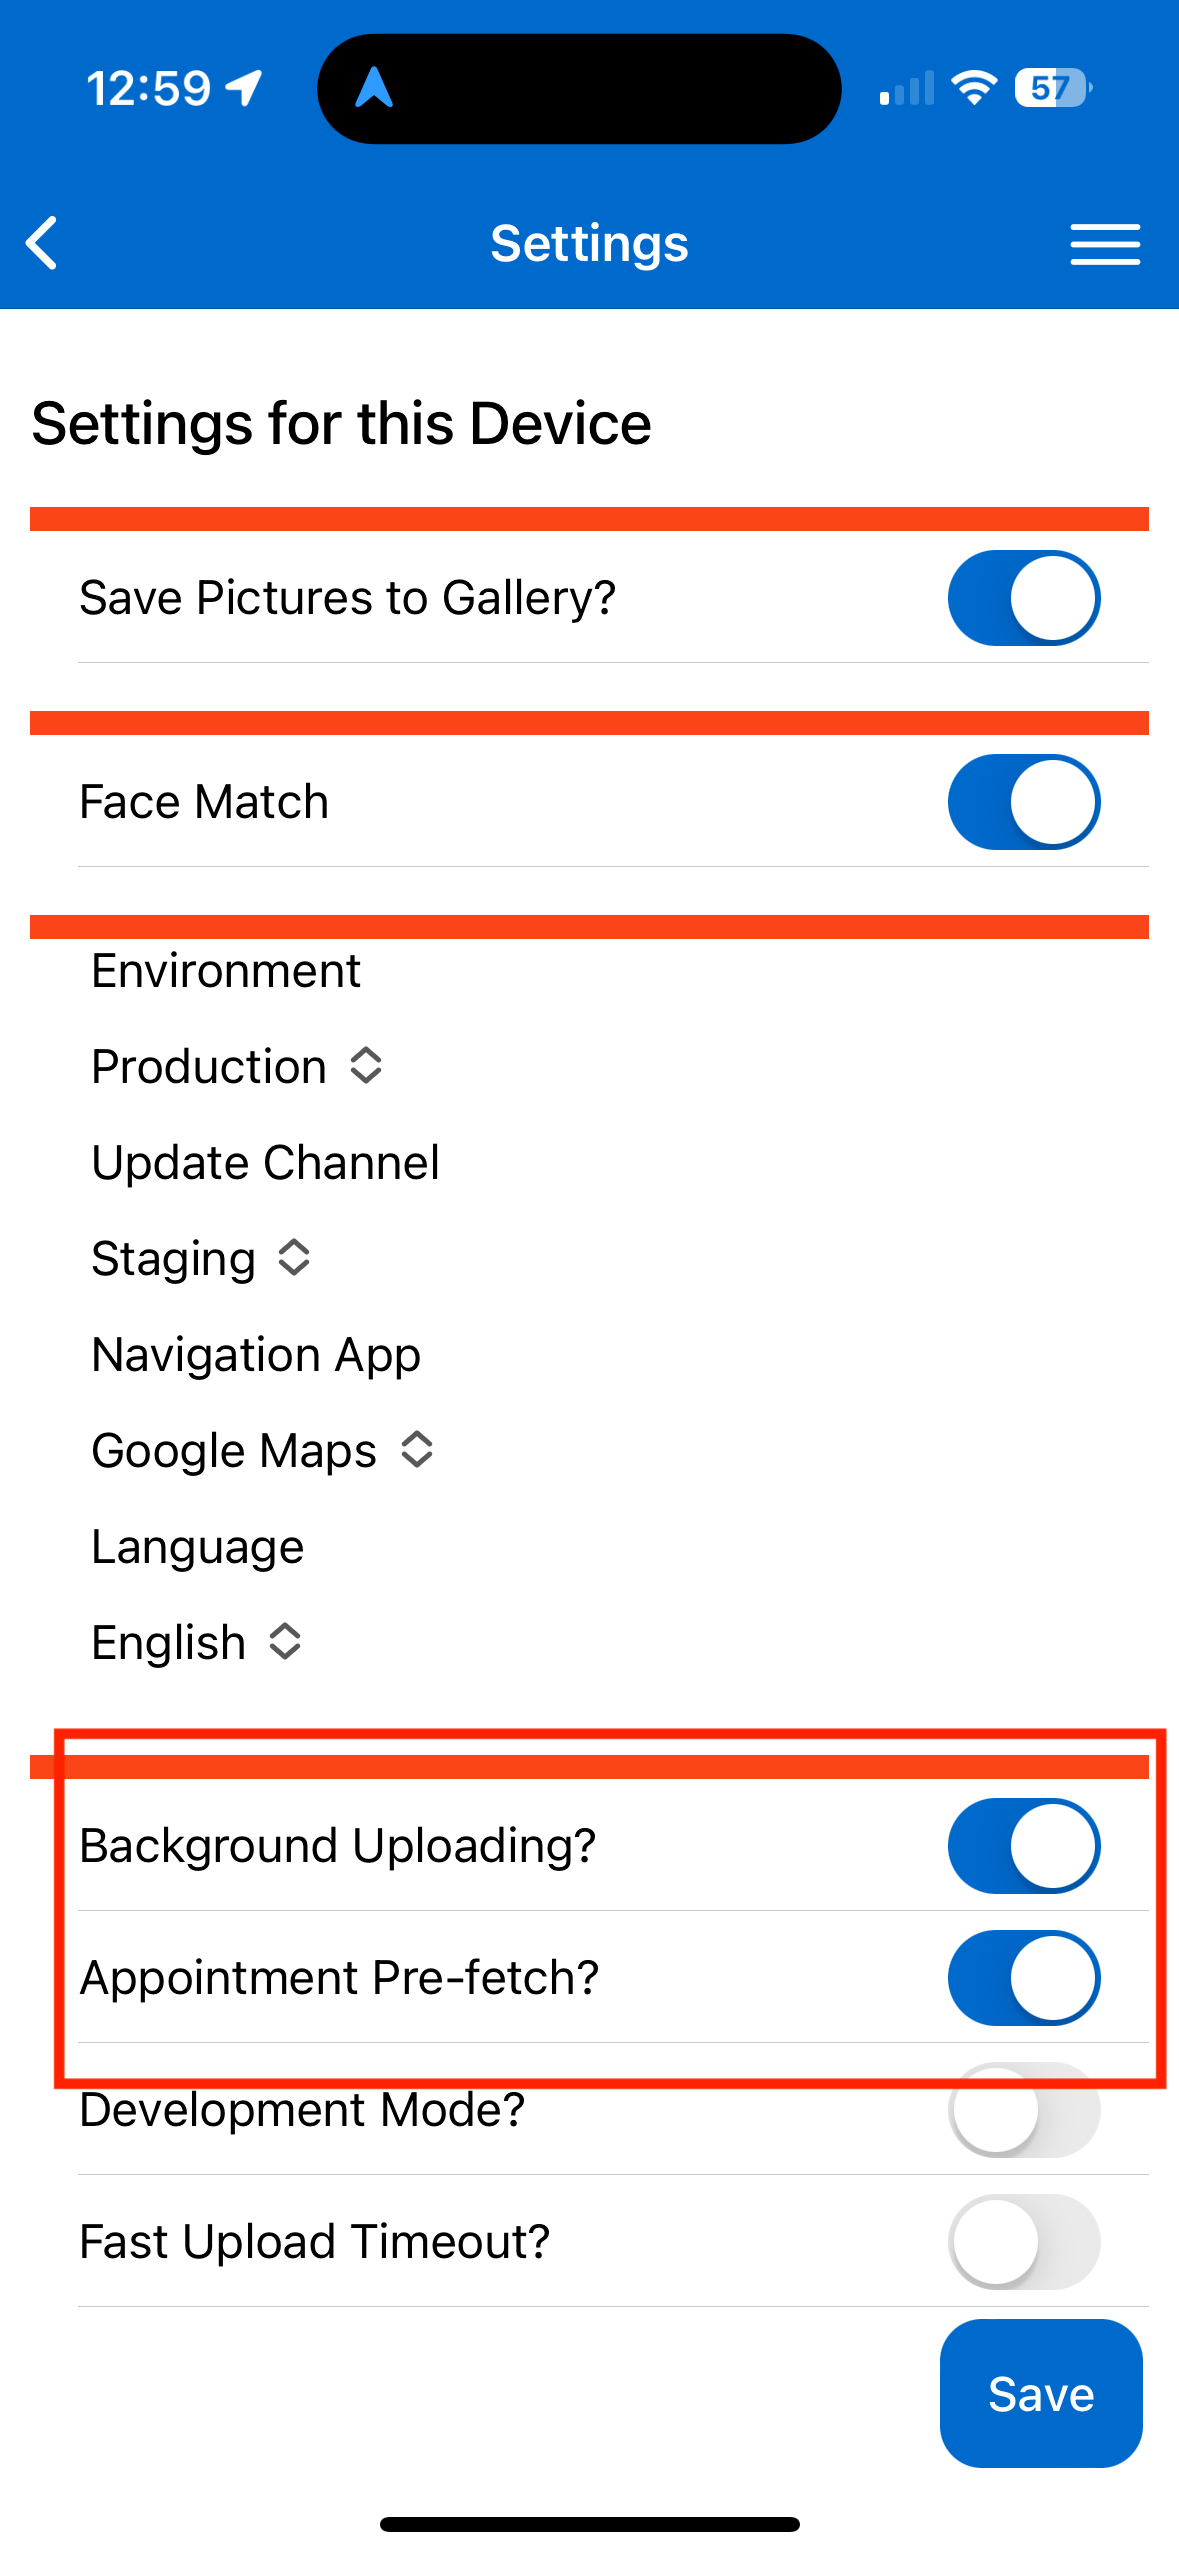
Appointment Pre-Fetch
When you/your service agents know that the day's appointments are going to be in areas with poor cell service/no wifi, the agent may choose to "pre-load" appointments to the app.
With cellular service and/or WiFi available, go to "Settings" (Hamburger Menu>Settings) and choose "Appointment Pre-Fetch". -- This pulls all the agent's appointments for the day, and this information will be stored in "My Schedule" no matter what kind of reception. The agent will be able to access address and appointment notes, and will be able to start (not finish) the appointment and add information -- The appointment can be "finished" once the agent has cell service or wifi later in the day.
Media Uploads
Background Uploading
In low cell service areas, another big problem is uploading images. If it is important to completing appointments, you may come to a service address and not be able to upload images.
In settings, a user can choose "Background Uploading" to avoid the "spinning wheel of death." This setting allows photos and data to upload throughout an appointment, rather than having everything try to upload when the agent chooses "finish" on an appointment.
Saving Pictures to "Gallery"
There is a permission setting to allow an agent to save photos taken during an appointment to their gallery (the photo storage on their phone.) If this permission is enabled for the service agent, they will have access to the setting "Save Pictures to Gallery." This can help in a low-service area by ensuring that there's a backup of the photos needed for the appointment.
Require Media Uploads to Complete Appointments
This setting is available in Control Panel > Services on the web application.
- If Checked: Photos must be fully uploaded before the appointment can be marked as complete.
- If Unchecked: Appointments can be marked complete while photos continue uploading in the background.

Uploading Transactions
If you are in a low/slow network environment, you may not be able to complete transactions with the app. In some cases, we'll save things like pictures or start/finish activities on the phone for you to upload when you have a better network connection.
If you visit the Home menu, you may see the following, indicating there are pictures or other data that needs to be uploaded to serviceminder.
Tap the upload button and the app will attempt to upload everything in sequence. If any item fails to upload (maybe something about the appointment changed or the transaction is no longer able to be uploaded), we'll show an error message for each item. You can try to upload again when the network is better. But if you have some items that just won't upload, swipe left on the items to remove them.
Troubleshooting
Photos are trying to upload but they time out, even in areas with good cell reception.
There additional app settings that can be accessed on the web version of serviceminder. You will need to be a permission level high enough to access the Control Panel.
If you go to Control Panel > General, you can scroll to a section called Contacts. There is a setting for App Picture Quality. We recommend using Medium to limit the size of the photos being uploaded through the mobile app. Brands have reported not seeing a decline in picture quality when adjusting this setting.
You may also need to go to Control Panel > Scheduling. There is a setting for how many photos can be selected to upload at one time. This may be limiting what you can do on the mobile app. Scroll to the Operational Options section and look for the App Gallery Upload Limit.
For Android users, there is a restriction of uploading 99 photos at one time. This is a phone system setting and not controlled by ServiceMinder. For that reason, if you are a brand that requires many photos to be uploaded for your business flow, only set the App Gallery Upload Limit to 99 for any techs in the field with Android phones.
