Overview
If you are new to a visual WYSIWYG (What You See Is What You Get) editor—commonly found in email and blog platforms—you may feel unsure about how to properly format or style your email templates. This guide outlines common questions, best practices, and practical tips to help you build emails that look professional and display correctly for your customers.
All guidance here applies to both Automated and Ad Hoc email templates, which are located in the Control Panel.
This article will review:
Tables
Automated Email Templates come with built-in formatting to ensure your emails display consistently across different email readers. You’ll notice the email content is centered rather than full-width; this design is created using tables, which remain the most reliable layout method for email.
Email readers such as Outlook and Gmail support table-based formatting far more consistently than modern CSS. While tables are outdated for modern web design, they are still the best practice for building robust, predictable email templates.
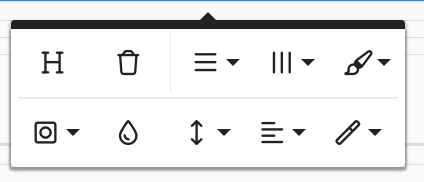
When you click inside a table, a formatting toolbar appears. You can hover over each icon to learn what it does.
You can:
- Add or delete rows
- Add or delete columns
- Apply formatting such as header rows or background colors
Each rectangular area formed by a row and column is called a cell.
- Pressing Enter inside a cell adds a new line within that cell. It does not create a new row. This simply increases the height of the cell or row.
- To adjust column widths, hover over the vertical line between columns, then click and drag left or right.
- You can also use alignment tools to adjust content horizontally or vertically within a cell.
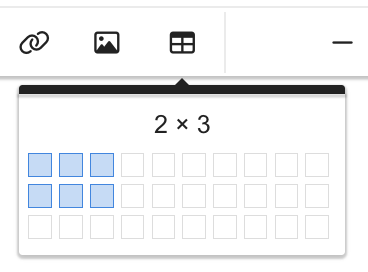
If you need to insert a new table, use the Table icon in the main formatting bar at the top. Choose how many rows and columns you want—you can always add more later.
Text Formatting
The toolbar at the top of the email editor contains a variety of text formatting options, including bold, font family choices, indentation, and alignment.
If you choose a formatting option before typing, your new text will adopt that style. To apply formatting to existing text, highlight it first.
Paragraph styles help create structure and hierarchy—useful for long emails where you want a clear flow, similar to a document or PDF.

You can also create numbered or bulleted lists. After starting a list, pressing Enter creates the next bullet or number. To exit the list, press Enter twice.
Adding Images
Use the Image icon to insert images into your email. Place your cursor where the image should appear, then click the icon. You can:
- Upload a file
- Select an image from your collateral library
- Paste an external link to a hosted image
Once inserted, clicking the image reveals options such as:
- Resizing
- Adding a link
- Adjusting alignment or formatting
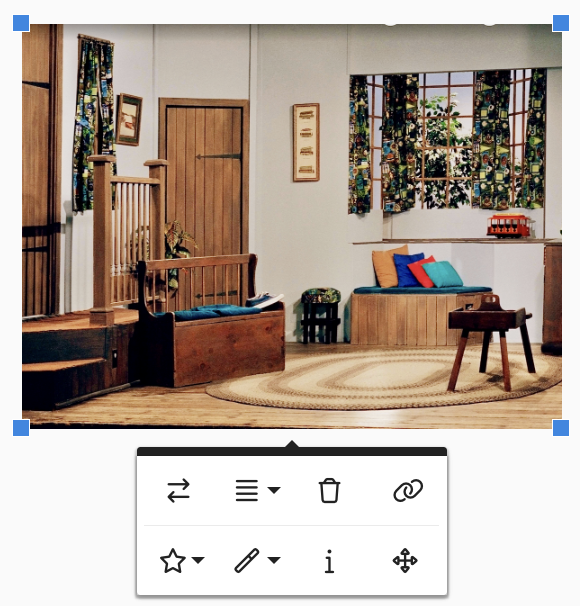
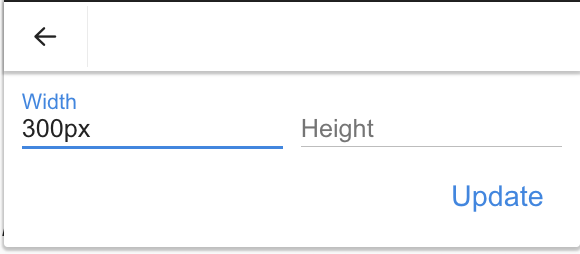
The bottom-right icon (four arrows) lets you set the image width manually. Images default to 300px wide, but you can change this to any size. Leave the height field blank to keep the image proportionate and avoid stretching.
Adding Links
To hyperlink text:
- Highlight the text
- Click the Insert Link icon
- Enter the URL
- Adjust the display text as needed
- Click Insert

You can insert:
- Full URLs
- Shortcodes that output URLs
Enable Open in New Tab to ensure the reader stays on their email client.
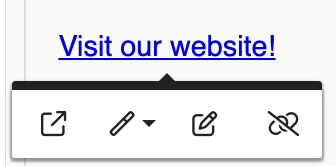
To edit an existing link, click it and use the popup to test, style, update, or remove the link. Remember to select Update after making changes.
Unsubscribe
For standard customer communication, the unsubscribe url isn't necessary. But if you're sending out an email campaign, the URL is a requirement.
Insert the unsubscribe URL using the shortcode:{unsubscribe_url}
This is typically placed at the bottom of the email in smaller text.

To learn more about Shortcodes, visit our full list.
Advanced Options
If you are familiar with HTML, you can switch to Code View to edit the template’s underlying code. You may also add CSS for styling.

Embedded videos or iframes are not supported in email. Although the editor may allow you to insert them, most email readers will not render them, resulting in blank space. Instead, upload a thumbnail image and link it to the video or external content.
If you add custom CSS, ensure it is compatible with email clients, as many do not support modern properties.
