Overview
Accounting Classes provide a way to include royalties with owned territories for more comprehensive end-of-period reporting. Typically, the ServiceMinder team sets this up for the brand during onboarding.
If you have a new franchisee joining your brand, you can submit a support ticket to request that we set up their accounting classes. Some brands prefer to manage this in-house. If that’s the case, here are the steps to get you started.
This article will review:
Settings and Navigation
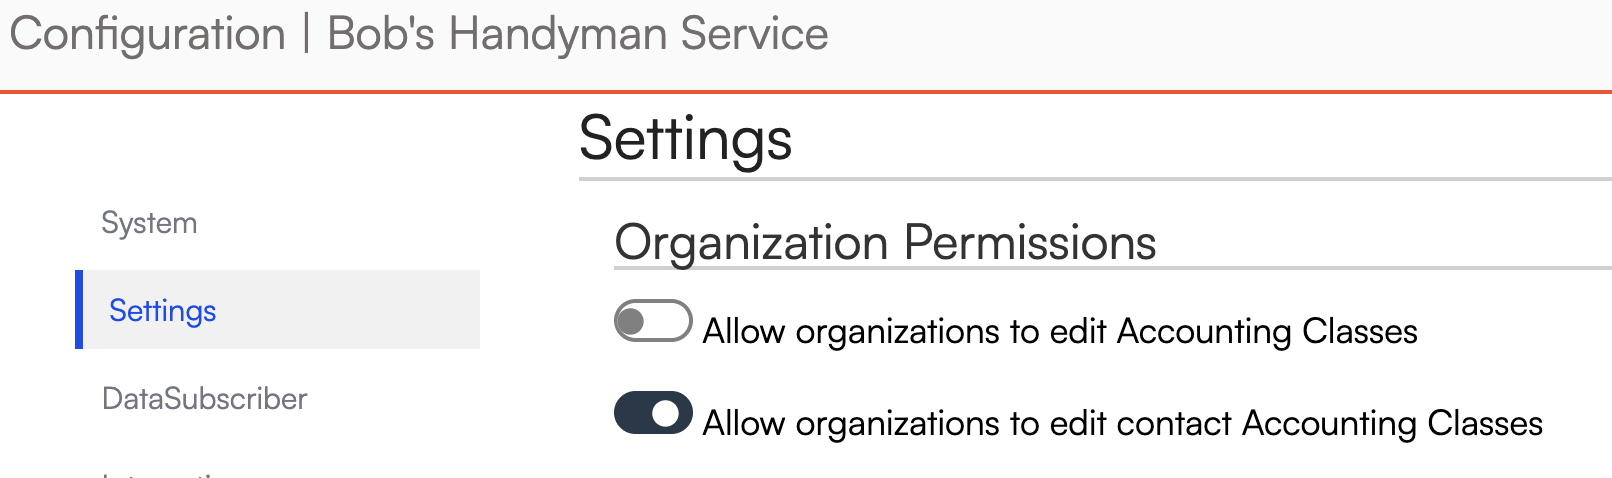
At the brand level, you can choose whether or not franchisees (owners and organization administrators) are allowed to edit Accounting Classes. The following settings can be found in Dashboard > Configuration:
- Allow organizations to edit Accounting Classes
- Allow Organizations to edit contact Accounting Classes
Setup
In Control Panel > Integrations, under the Accounting tab you'll see Accounting Classes. Click Manage.
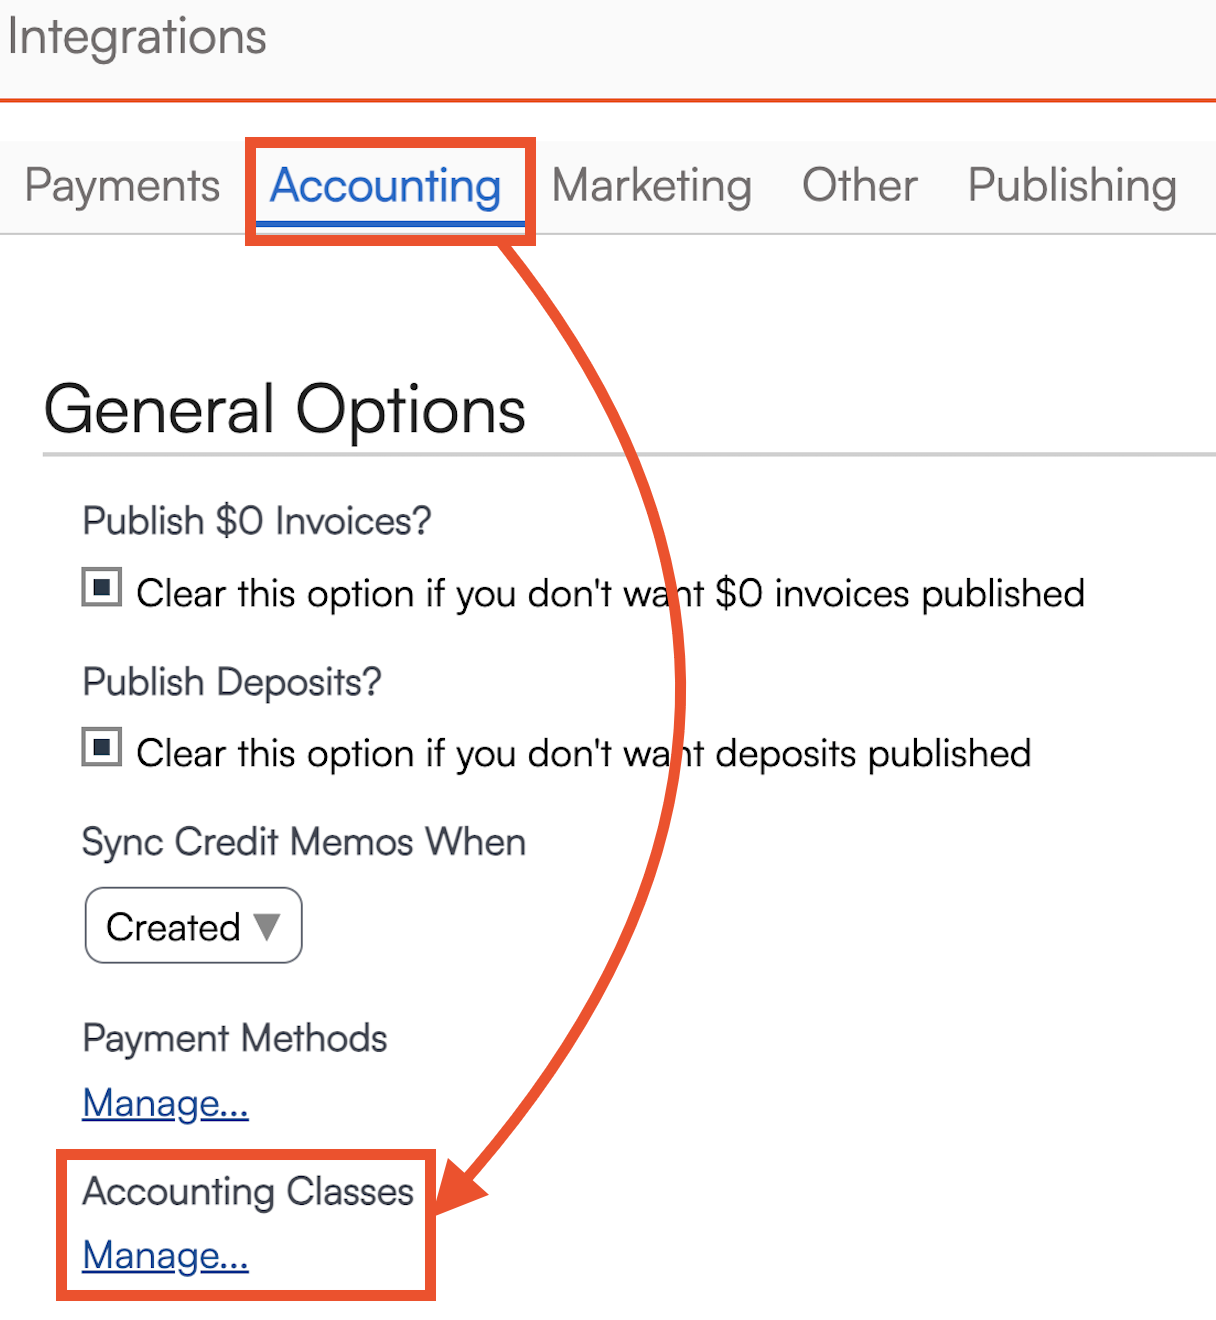
Here you can set up accounting classes that will sync over to QuickBooks Online and help designate the right territory for your contacts.
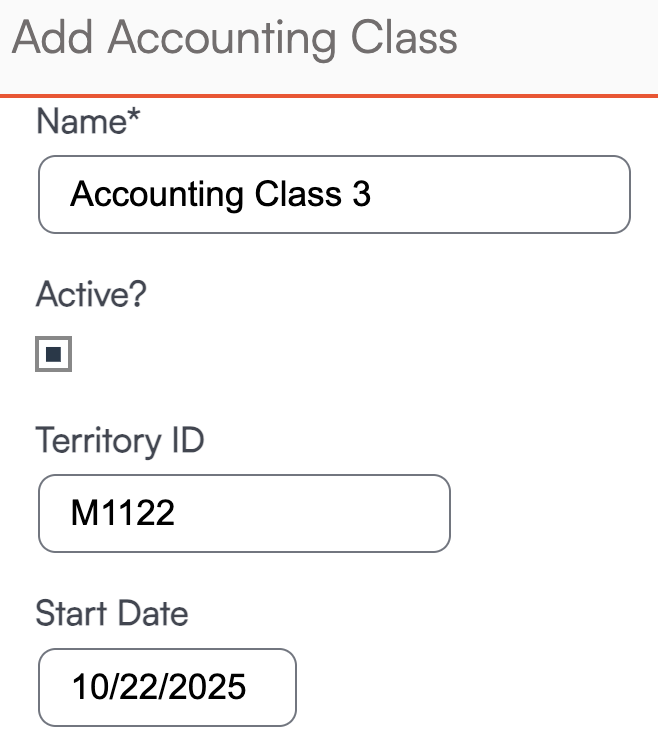
Click Add, then set the Name and the Territory ID, and click Save.
In order to map the accounting classes to specific zip codes, you'll first need to add those zip codes to the "owned" postal codes for that organization in Dashboard > Tools > Organizations > Edit > Territory.

Mapping
There are two ways to map your Accounting Classes to ZIP codes.
After a class is created, click the pencil icon next to Postal Codes on its details page to add ZIP codes for that class, separated by commas. Only owned ZIP codes will be saved.
Creating GeoZones for Accounting Classes
If you’ve added zip codes to the class on the first page, you can click the +GeoZone button to automatically create GeoZones that match your classes. These GeoZones will include the correct zip codes and use the same names as your classes.
Once that’s done, click over to the Mappings tab and you’ll see that the ZIP codes already have the appropriate accounting class selected.

Managing Mappings Manually
You can also start directly from the Mappings tab and manually select a class from the dropdown list. Any owned ZIP codes not already assigned to a class (via the pencil edit) will appear here for you to designate.
Additionally, you can set a Default Class in Mappings.
FAQs
Does this work for Canadian Postal Codes?
Yes, but if you try to create a GeoZone for some of the larger territories, it may be too large to function within the SM system. For instance, if you try to filter based on a zone that has 300 postal codes, it is trying to pull so much info that the page could freeze without being able to load all of the data at once.
When selecting accounting classes, I have to go through 100+ postal codes, is there an easier way?
You can copy and paste the zips (separated by commas) directly into the accounting class. Go to CP > Integrations > Accounting tab > Manage. Add new or click on the existing location you want to update, then click the Pencil icon to edit and drop zips in there.
