Overview
Within serviceminder, we refer to the Organization as an account under the Brand. An organization is operated by the franchisee and the Brand is operated by the franchisor. Another way to think of it is each org is a location. One franchisee can own and operate several locations, but they all fall under the umbrella of the franchisor brand.
When onboarding a new franchisee or a new location being opened, you will need to create an organization within serviceminder. You can also edit or cancel and existing org if ever needed.
This article will review:
Settings and Navigation
Go to Dashboard > Tools > Organizations.

Adding an Organization
Your brand may have a specific process for creating organizations. Please use this as a general guide but defer to your brand regulations and SOP for specifics.
Navigate to Dashboard > Tools > Organizations. On the Organization Grid page, click Add.
When adding an organization, you will have to fill in all the fields marked with an asterisk (*).
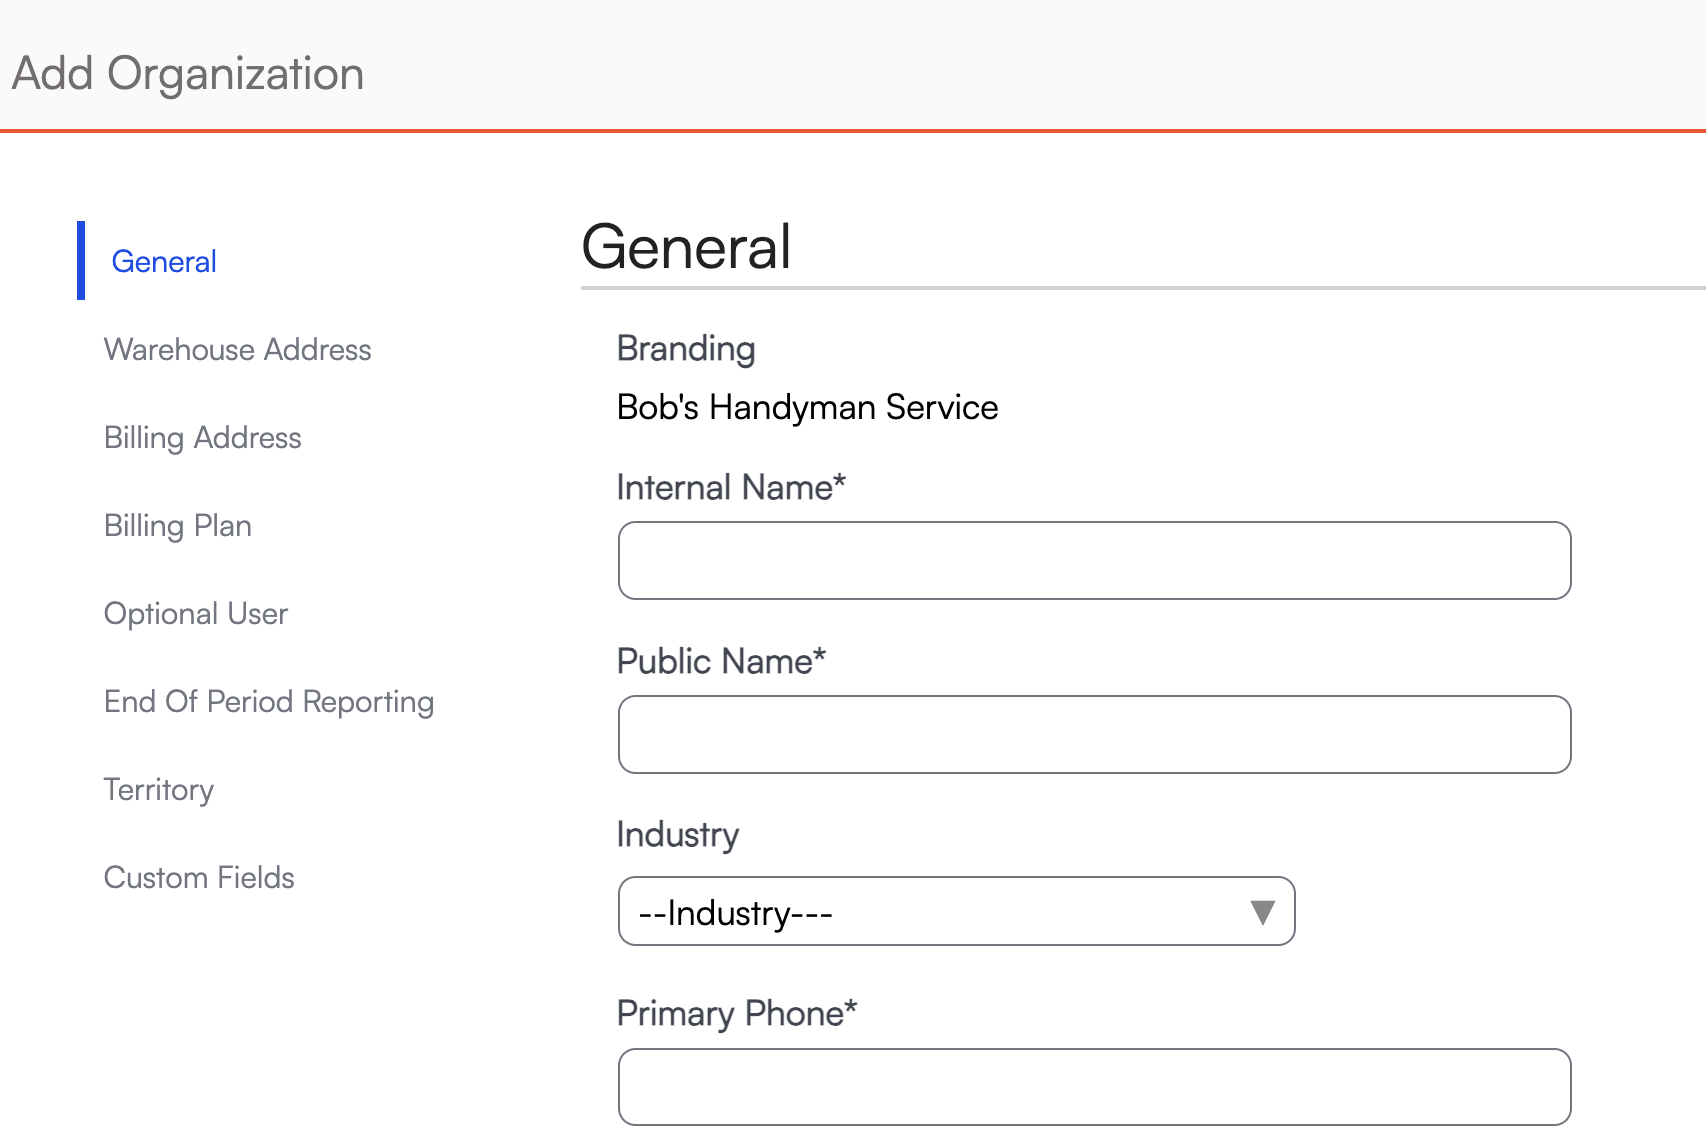
Required Fields
- Internal Name - the default name set by the brand for the location, such as "Bob's Handyman of New York". It should be consistent with all the other organizations in your brand.
- Public Name - will default to what you type in for the internal name. An organization admin/owner can change this name if they choose... for example, "Bob's Handyman of NY" - the public name is what will show on proposals/invoices/etc. along with any email/print templates that refer to the organization.name short code
- Primary Phone - the primary phone number for the organization
- Email - this should be the franchisee's business email (also referred to as the Org Admin). This email will receive all internal communications from the brand along with external communications with customers depending on serviceminder settings.

Website - needs to be a public facing, location-specific website (not the main brand website).
Optional Fields
- Industry - Select the organization's relevant industry from the dropdown menu.
- Location ID - A unique identifier that you assign the organization within your brand.
- Open Since - The opening date of the location. This can help with sorting for things like royalty reporting.
- Region - select a region from the dropdown menu. Configure Regions in Dashboard > Tools > Settings > Regions.
- Account Manager - if applicable, assign a user within serviceminder as the
- Legal Entity Name - if the organization has a legal entity name different from their internal or public name
- Taxpayer ID - the EIN or any other taxpayer ID registered with the state
Warehouse and Billing Address
When entering the address, select the country first.
Then, enter the address into the search bar. This will pull in from Google maps and auto populate all fields associated with the address including the zip code and ensures the address is properly geocoded for routing purposes.

The Warehouse is wherever your agents leave from or your office. Our system will use this address to calculate route drive times, this address will appear on your proposals/invoices, and the shortcode {organization.address} will refer to this address should you use it in emails.
There is a separate address if you have a different billing address but the process is the same. Only add the address using the field marked with the magnifying glass.
Billing Plans and End of Period
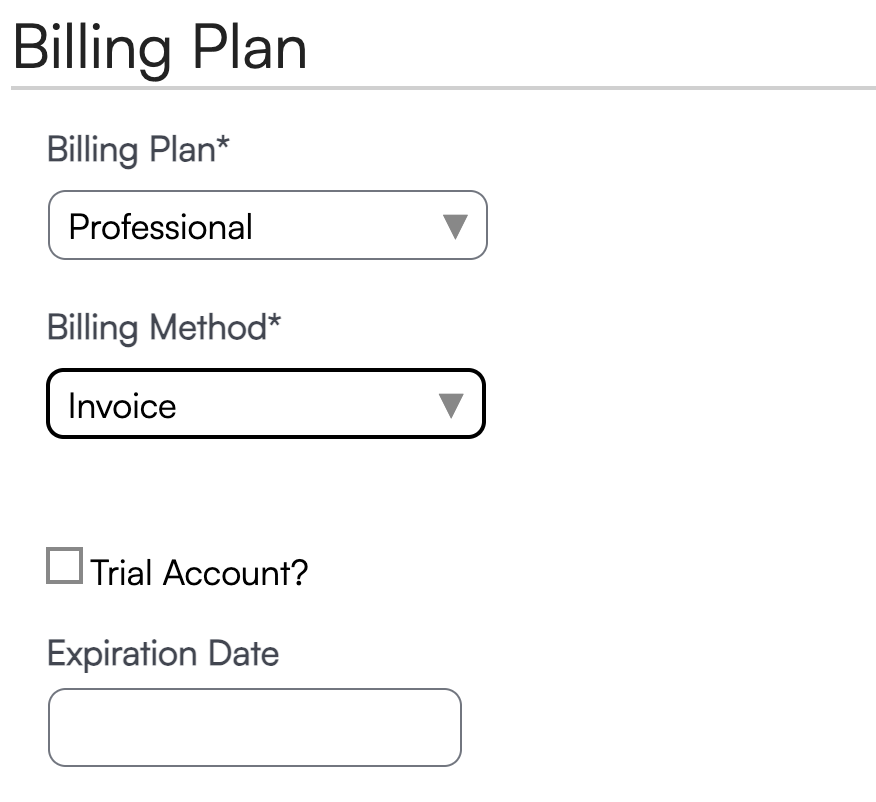
Billing Plans and End of Period reporting are unique to each brand. Please refer to your brand SOP or an existing org to determine how to fill in those sections.
Typically, Brand Complimentary in the billing plan is for new orgs that have a pre-determined time to get access to their account, start learning serviceminder, and start building out their org before their "go live" date. Their go-live date is when their billing will start. The brand can either have the franchisee's credit card charged directly or you can choose to have the brand pay upfront and invoice or charge the franchisee separately.
To set the go-live date, fill in the Expiration Date field.
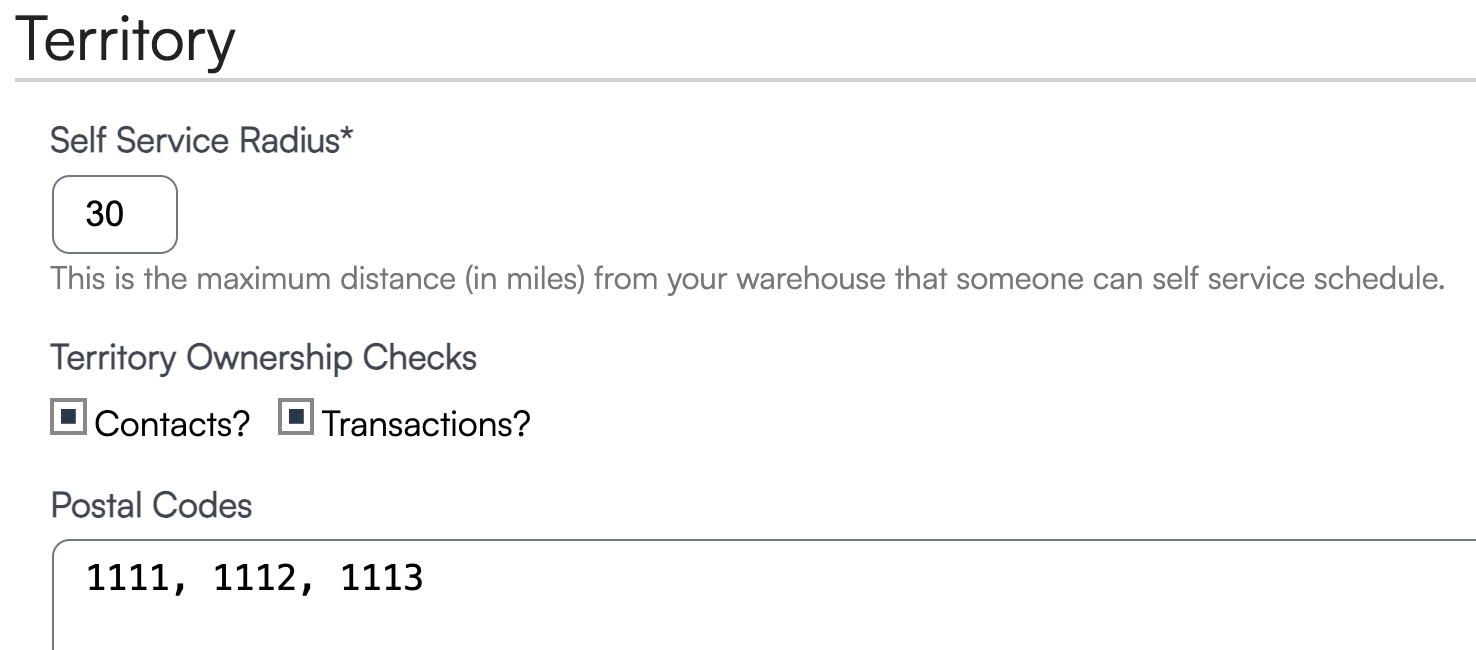
Territory Ownership
When adding/editing an organization, you add postal codes to designate the area that location services. Enter the zip codes for the brand new org and, by default, they will receive a error if they try to work a lead in another franchisee's territory.
However, some brands may allow locations to service customers in another's territory. For example, San Antonio might give permission to Austin to have a customer that's in their area.
To allow this, you can edit the receiver's organization details (in this scenario, that would be Austin.) Uncheck the Territory Ownership Checks and save. This means Austin won't get an error when trying to add a customer that's outside of their area.
If this situation applies to the new org you can turn this on or off depending on need. Once the customer is added, you can turn this back on.
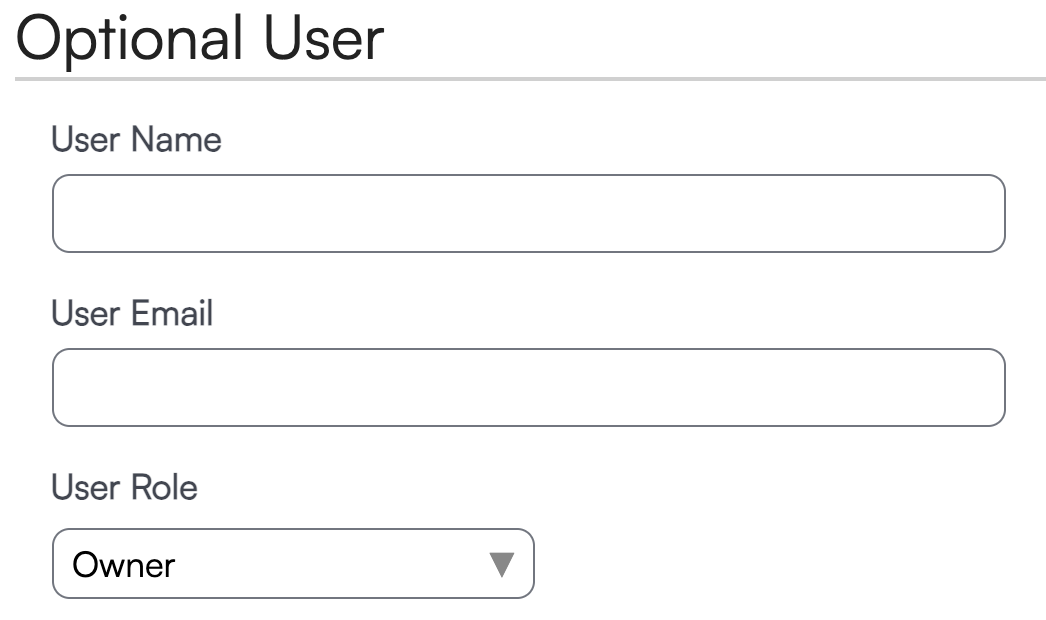
Optional User
Make sure when filling out the info for the new Organization that you fill out the “Optional User” this will create the user for the new location’s owner so they can login.
If the new organization’s owner already existing as a user, then don’t fill it out. If they are new to SM, then fill this out.
What you choose as the Role for the user may vary by brand preference. However, typically the franchisee receives the Owner or Organization Admin role.
If you choose to skip this step for now, you can always go into the correct Organization > Control Panel > Users > Add.
If you would like assistance from the Support team to complete the rest of the setup process after you do these steps but aren't sure how to write that request, please review Support Ticket Templates for Brand Admins.
Bulk Configure Organizations
ServiceMinder offers two ways to configure organization settings in bulk, saving time and ensuring consistency across your brand:
Deployment Tool: Use the built-in UI to push brand-standard settings to one or more organizations.
CSV Upload: Update specific fields using a spreadsheet for fast edits.
Configure Using the Deployment Tool
The Deployment Tool can be used to apply standard settings across multiple organizations at once:
1. Make sure you are working in the organization that already has the desired settings you want to deploy.
2. Go to Dashboard > Tools > Deploy.
3. Click the Organization Settings tab.

4. Choose the category of settings you'd like to configure:
- General Settings
- Proposals Settings
- Invoices Settings
- Scheduling Settings
- Notification Settings
5. For each setting, select the value you'd like to deploy.
6. Use the organization selector to choose which organizations to apply the settings to.
7. Click Deploy to push those settings to the selected organizations.
Configure using CSV Files
When viewing the Organizations grid, you'll see Upload and Download options in the top-right corner of the screen. These tools allow you to bulk edit organization records using a CSV file. This is a great way to efficiently apply configuration changes across all organizations in your system.
- To edit existing organizations, first download your current list using the Download option.
- Open the CSV file and make your desired changes, such as updating the Location ID or other supported fields.
- Then upload the updated file back into serviceminder. The system will match records and apply your changes to the corresponding organizations.
Make sure your column headers match the valid column names provided on the upload page.
Uploads will not create new organizations, only update existing ones.
FAQs
If I have a question about what to do to create and deploy a new organization, who can I reach out to at serviceminder?
Your brand may have an Account Manager assigned from serviceminder. You can ask them directly for help, especially if you are new to the brand. Another way is to send a support ticket from the Help section. Someone from our client success team will receive the ticket and assist you.
What if my brand doesn't have an SOP or any instructions on how to correctly set up their organizations?
Our suggestion is to pull up an existing organization with a franchisee that you trust to do things correctly and use their org as a template. This works for deploying fields as well. You can use their parts, services, and other deployable fields for new orgs. Just be sure that you are in their established organization when you deploy to the newly created org.
Is there a way of splitting the territory into two, for example, territory east and territory west, so that you can track the revenue of each territory separately?
Geozones might be what you're looking for. After setting up Geozones, the revenue will track on each. Accounting classes can also be used in conjunction with Geozones, and will push over to QuickBooks.
Is there a report that can be run to identify clients that are "out of Territory" for the location that services them, and that would potentially be within a new owners territory? These out of territory customer reports need to be run for new locations as they launch services.
There's a report you can use in Dashboard > Reports called Postal Code Conflicts. If the new org/orgs have their zip codes set up, then any contacts in other orgs under those zips should show up there for you to review.
Use the top filter to search under the In Organization column.
You may have to download the whole report and filtering there, or just doing Ctrl + F on the page and finding the org you're looking for that way (and maybe filter down to the In Organization to an extent that way.)
There are multiple clients that are out of territory for the “in Organization” that actually belong to other orgs. How would we facilitate having those clients moved to the “Owning Organization”?
There are two ways to do it - one would take a little longer but would give you more control, while the other is faster but more of a blanket move.
Transfer contacts by zip code, in bulk. In Dashboard > Tools tab > Transfer. Here you can enter a zip code, or more than one separate by commas, and then designate an org to move the contact FROM and TO. This would take all contacts from the first org that are in those zips and move them at once.
Move contacts individually. In Dispatch, you can search the contact's name and select them. Click the Move button, pick the org they need to move to, and move them over.
How do Canadian Postal Codes need to be entered into the system? Our Franchise Agreements all include the 3 character prefix instead of listing each individual code.
Enter the first three letters and an asterisk to get all the codes in that territory, i.e.: K1S*
