Overview
This article will review:
Video Tutorial
Downloading Contacts
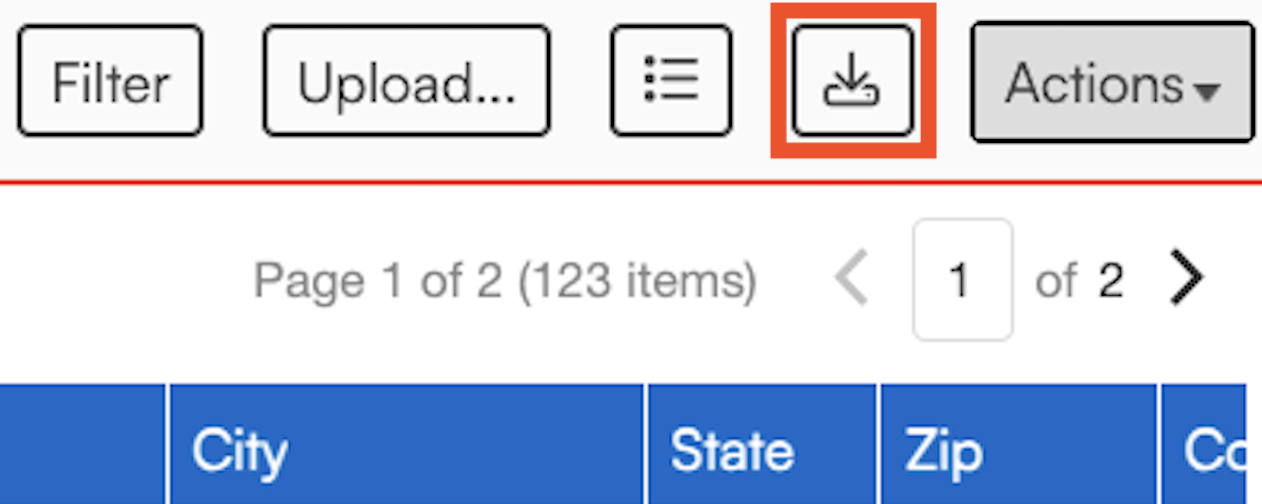
Start by clicking the Download button above the contacts grid.
It will take you another screen showing you that the system is processing your request.
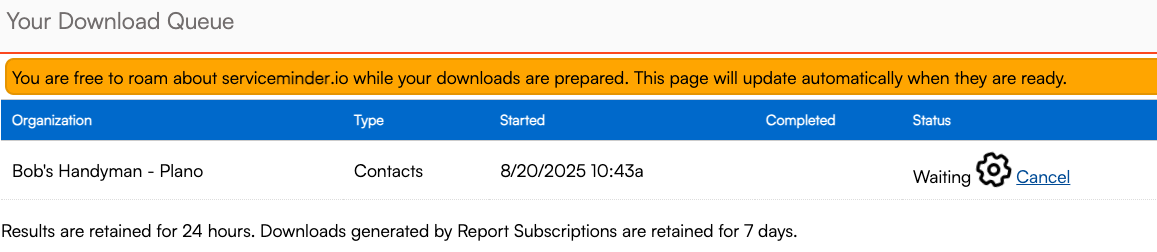
Once complete, you will see a download icon for the list you exported.

When you open that list in Excel, you can see all the columns of information associated with the Contacts grid. You can update many columns at once or just a single column, like "Tags."

To simplify the update process, consider deleting any columns that you are not going to be updating. Keep only the required columns and updated columns. This reduces the likelihood of triggering an error when re-uploading the file later.
Edit the information you wish, and go to File > Save As. Keep the same name or change it, that part doesn't really matter. Just make sure that you save as File Type - CSV.
Uploading Contacts
Go back to the Contacts Grid and select the Upload button to import the new contact list.

Make sure the file you are uploading contains the following required fields:
- Name
- Phone
- Address1
- City
- State
- Zip
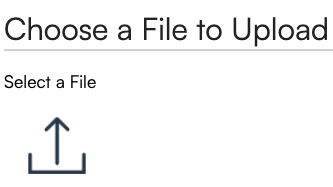
Select a CSV file to upload by clicking the upload icon and selecting your file, or by clicking and dragging your file to the upload icon.
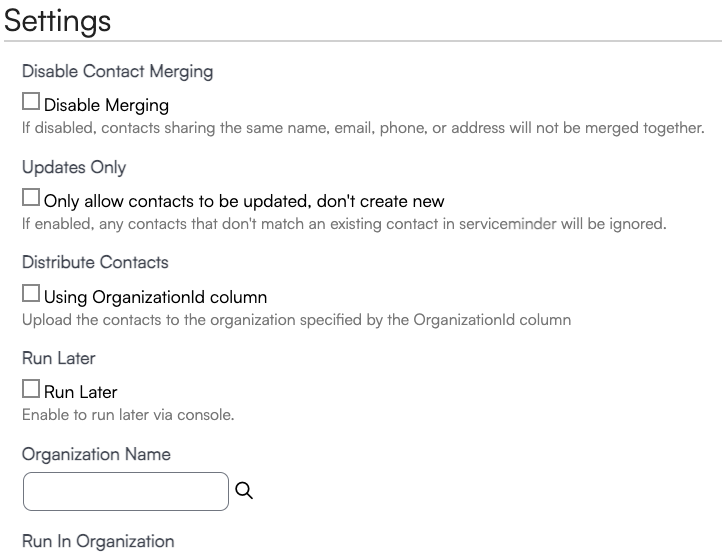
The Settings section below will offer you several configuration options for greater control over your upload:
- Disable Contact Merging – If disabled, contacts sharing the same name, email, phone, or address will not be merged together. (Use this if you don’t want duplicates automatically combined.)
- Updates Only – If enabled, any contacts that don’t match an existing contact in ServiceMinder will be ignored. (Use this if you don’t want new contacts created in case of mapping issues.)
- Distribute Contacts – (Brand administrators only) Upload the contacts to the organization specified by the OrganizationID column. Learn more about this option below.
- Run Later – Enable to run the upload later via the console. (Recommended for very large lists of changes, since bulk updating can slow the system down and prevent other work while it uploads.)
- Organization Name – (Brand administrators only) Run the upload in a specific organization different from the one you are currently working in.
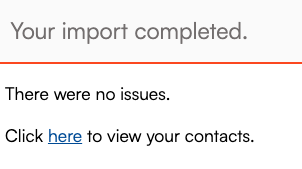
After hitting Submit, you will see a pop-up window letting you know if the update was successful. If it was, you can click the Here link or just go to Contacts in the main menu to see the changes reflected.
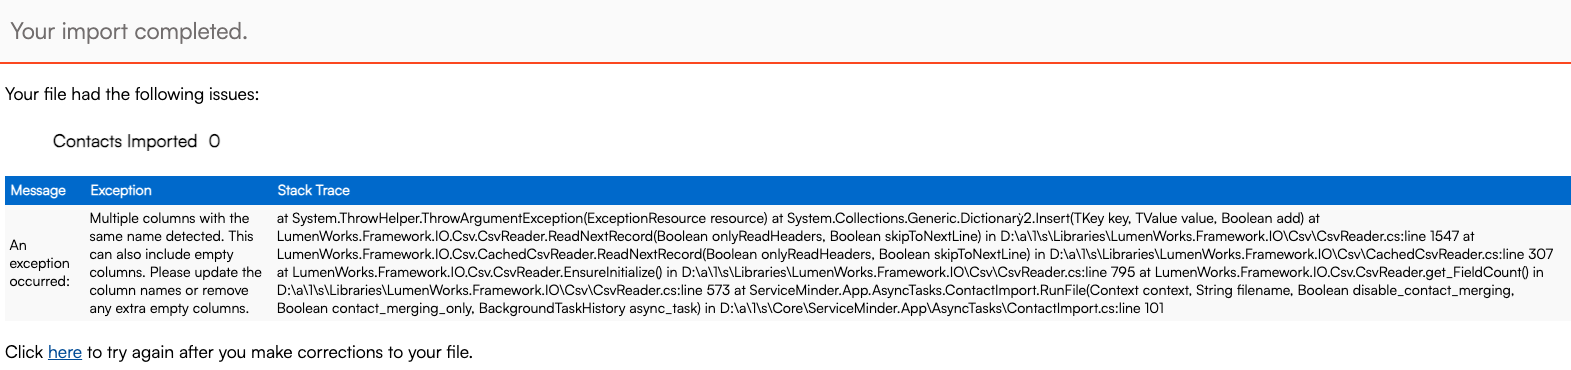
If the upload was not successful, you'll see an error reason with the option to retry after making adjustments to your file.
Distribute Contacts
There is an additional option when bulk uploading Contacts. Distribute Contacts will allow you upload a list of contacts according to which organization they should be in. So you upload a list including contacts from multiple territories and it doesn't matter which organization you are uploading them into.

You must use the column header, "OrganizationID". Then you must make sure the organization ids are listed correctly. You can find this information in three places:
1. If you are in an org, go to Control Panel > General.
2. If you are a brand admin, you can see all org ids by going to Dashboard > Organizations.
3. In the url string if you are impersonating into an organization.

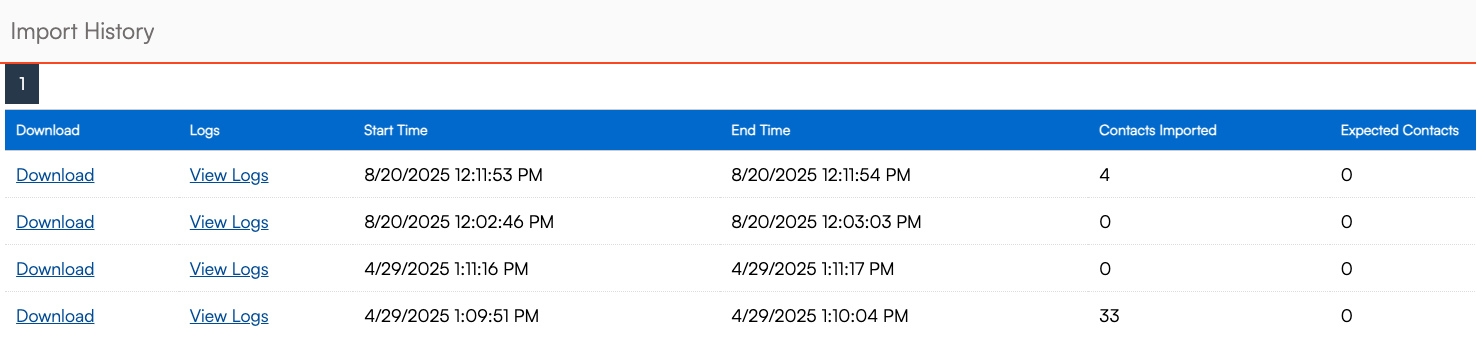
Review Imports
The Past Imports button in the top-right corner of the upload page takes you to a table displaying all of your previous contact imports with links to logs and data about each import.
Bulk Edit Contacts
Rather than downloading and editing a list to reupload. You can make several bulk changes directly through serviceminder.
On the Contacts Grid page, use the filters to narrow down your contacts to only the ones you want to update. Then go to the Actions menu.
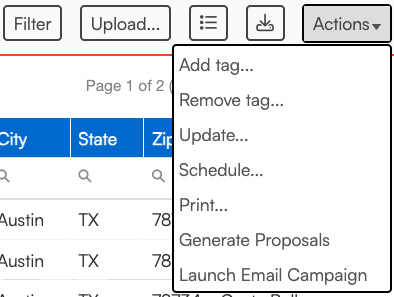
From this menu, you can choose several common actions:
- Add or Remove a Tag.
- Update the the Category as well as the Channel or Campaign.
- Schedule queued appointments on a specified date.
- Print using a Print Template for all contacts at once.
- Generate Proposals for many contacts at once.
- Launch an Email Campaign.
FAQs
How do I know if my import was successful?
Go to Calendar > Contacts > Upload Contacts > Import History. You can look here to view any imports you've done and see what the errors were to help troubleshoot when an import fails.
My import didn’t work. What went wrong?
To make bulk updates, you must be sure that your list meets the following criteria:
- The file must be saved as a CSV. You cannot add “.csv” to the file name. The system will reject it. You must “Save As” file “CSV”.
- You must label the column headers in a way that the system will understand. Although we do not have a specific list, a good rule of thumb is to use what you see on the grid page. For instance, use the column headers from the downloaded list such as "Service Address" and "CC Expiration".
- If you have empty columns in the spreadsheet, the system will reject it. Make sure that you don’t have a space in an empty column.
I don't see the fields I just uploaded on the grid.
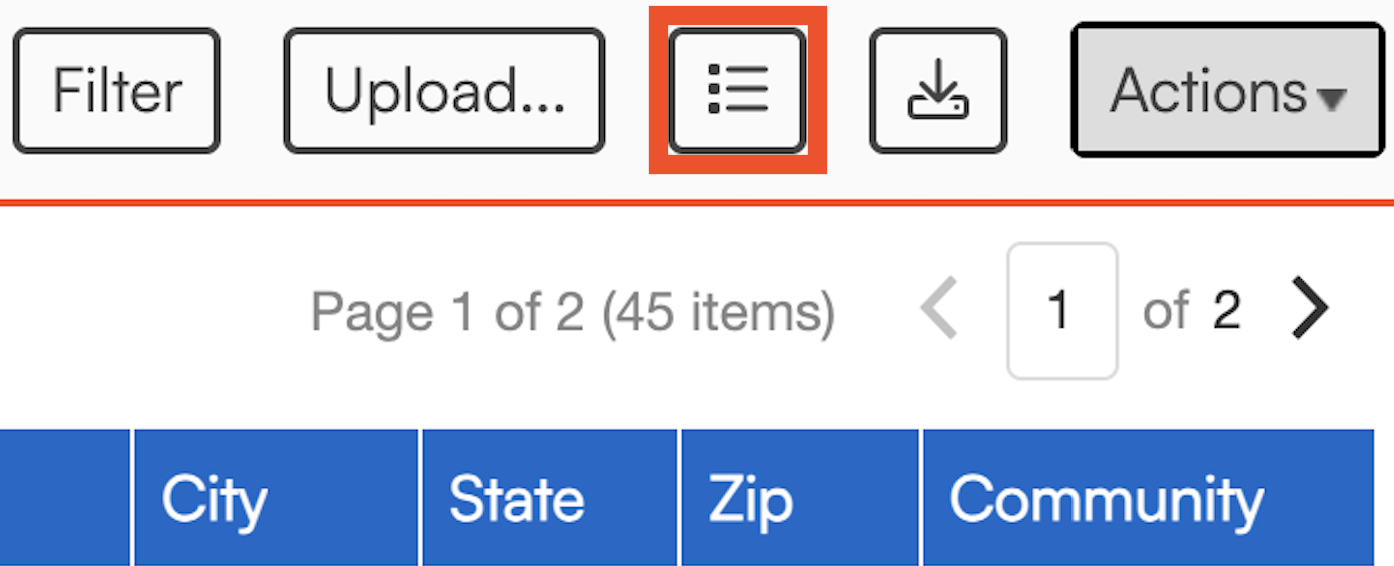
If you do not see the column you are looking for, don't forget to click the Column Chooser button and make sure you have activated all the data columns you want to appear.