Overview
The Maps page is simple at first glance, but its many features allow for strategic planning and execution of route schedules by utilizing the power of Geographic Zones (aka GeoZones).
This article will review:
Video Tutorial
Webinar
Settings and Navigation
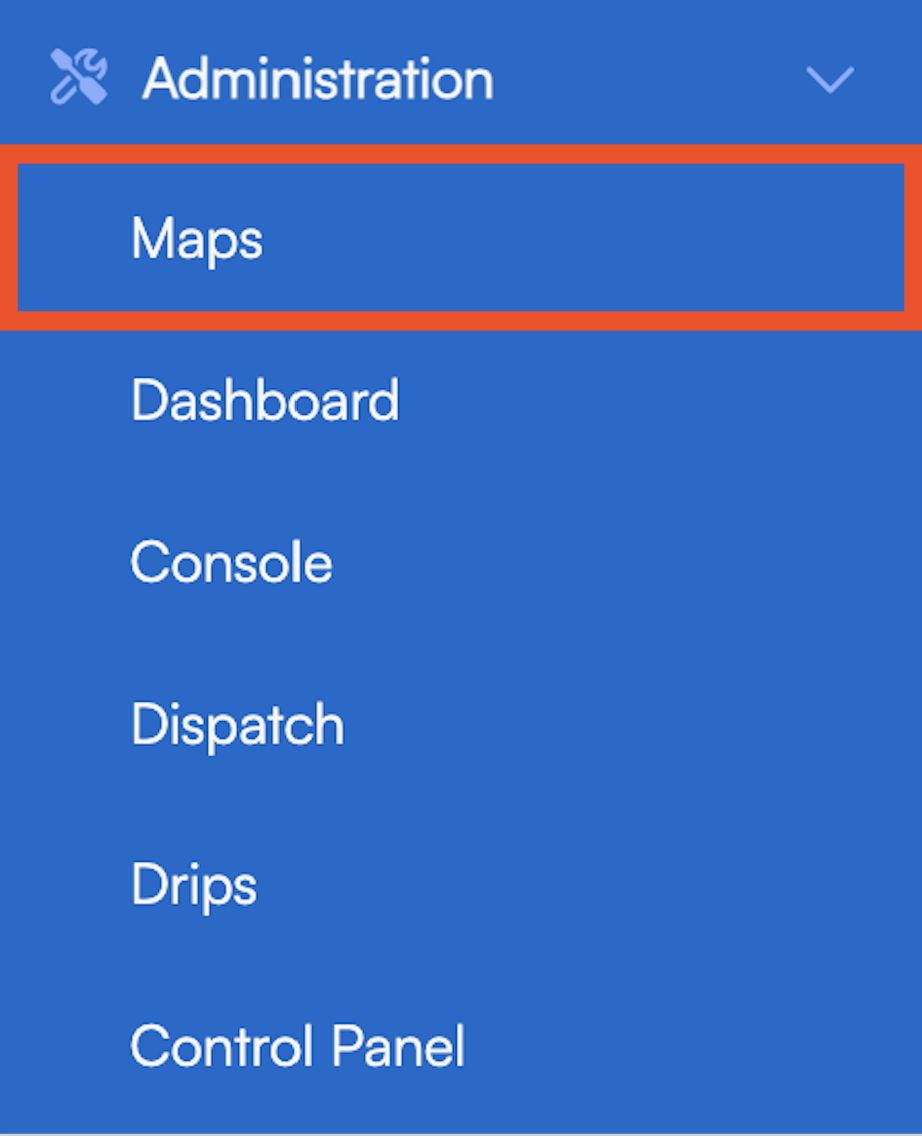
Find Maps in the Administration section of the navigation menu.
You can also find Maps in the Tools section of the Control Panel.
When viewing the map, there are several buttons in the top right corner that change which items you're viewing across the map, as well as some others for managing GeoZones and routes.
- Contacts: View your contacts on the map
- Proposals: View the addresses of your open and accepted proposals on the map
- Appointments: View the locations of your upcoming appointments on the map
- Backlog: View the location of your backlogged (past due) appointments on the map
- GeoZones: View and configure GeoZones
- Routing: Review recent routing solutions

Below the map is an option to enable/disable clustering, which causes items on the map within the same general area to merge into a singular point with a number representing the count of items. This can reduce the clutter on the map when you have hundreds of items visible.


What are GeoZones?
GeoZones are territories on the map used for reporting and scheduling. For instance, you can restrict Service Agent's time slots to specific GeoZones. They also tie into Accounting Classes for reporting and revenue purposes.
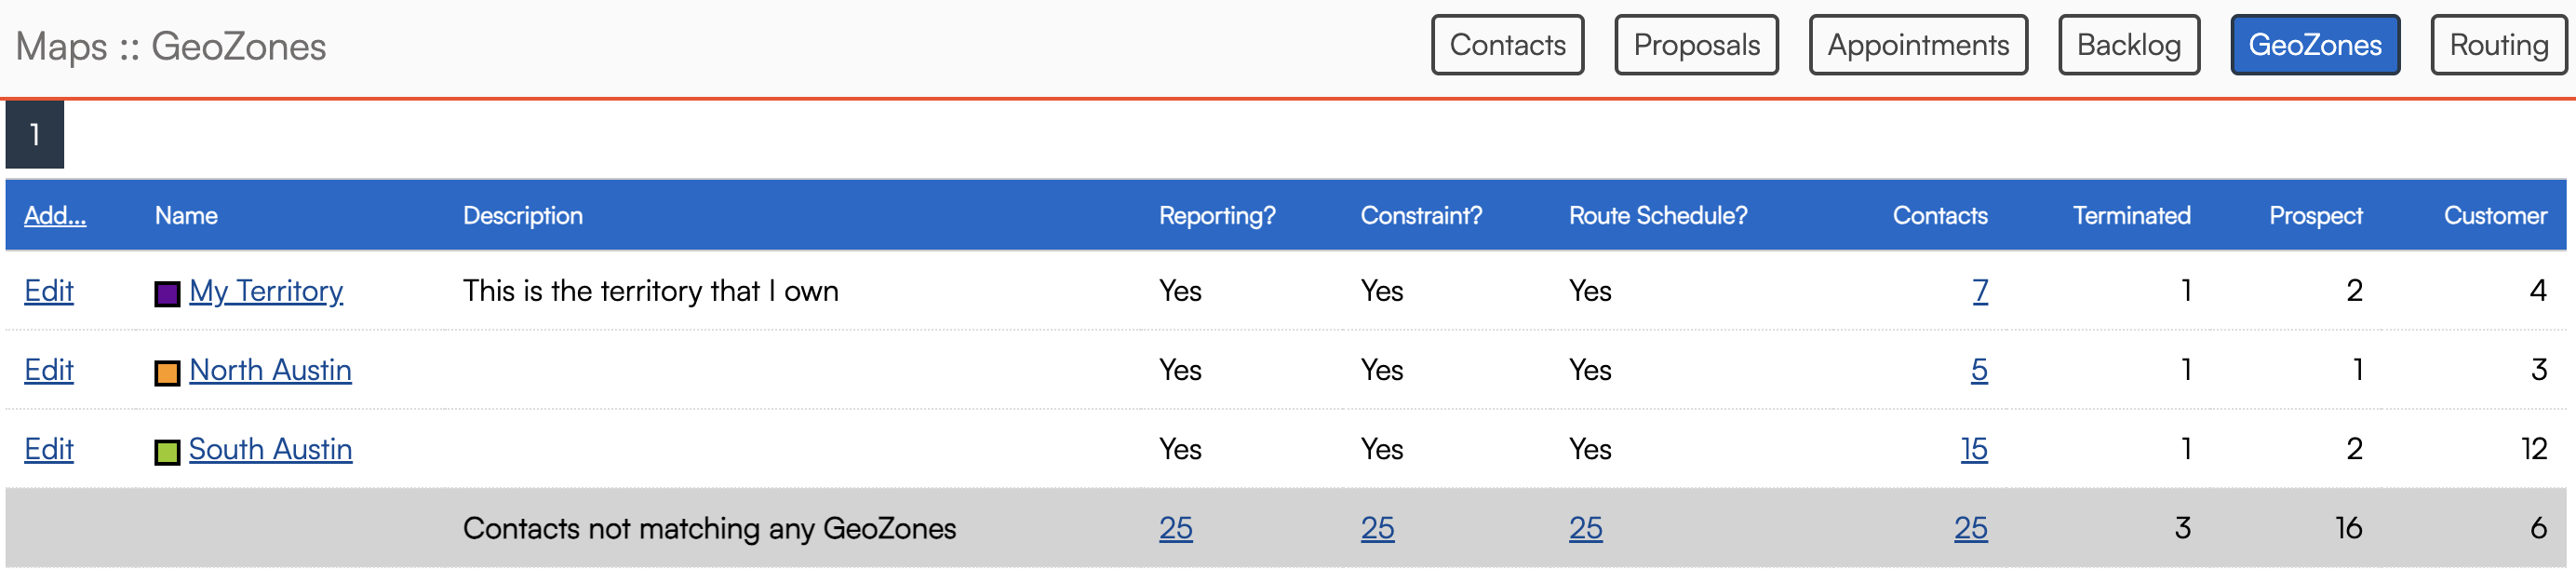
Clicking the GeoZones button takes you to a view of all of your GeoZones, where you can modify your zones and see information about contact distribution.
Scrolling down reveals a map view of your zones, as well as an area to drop KML files for configuring zones.

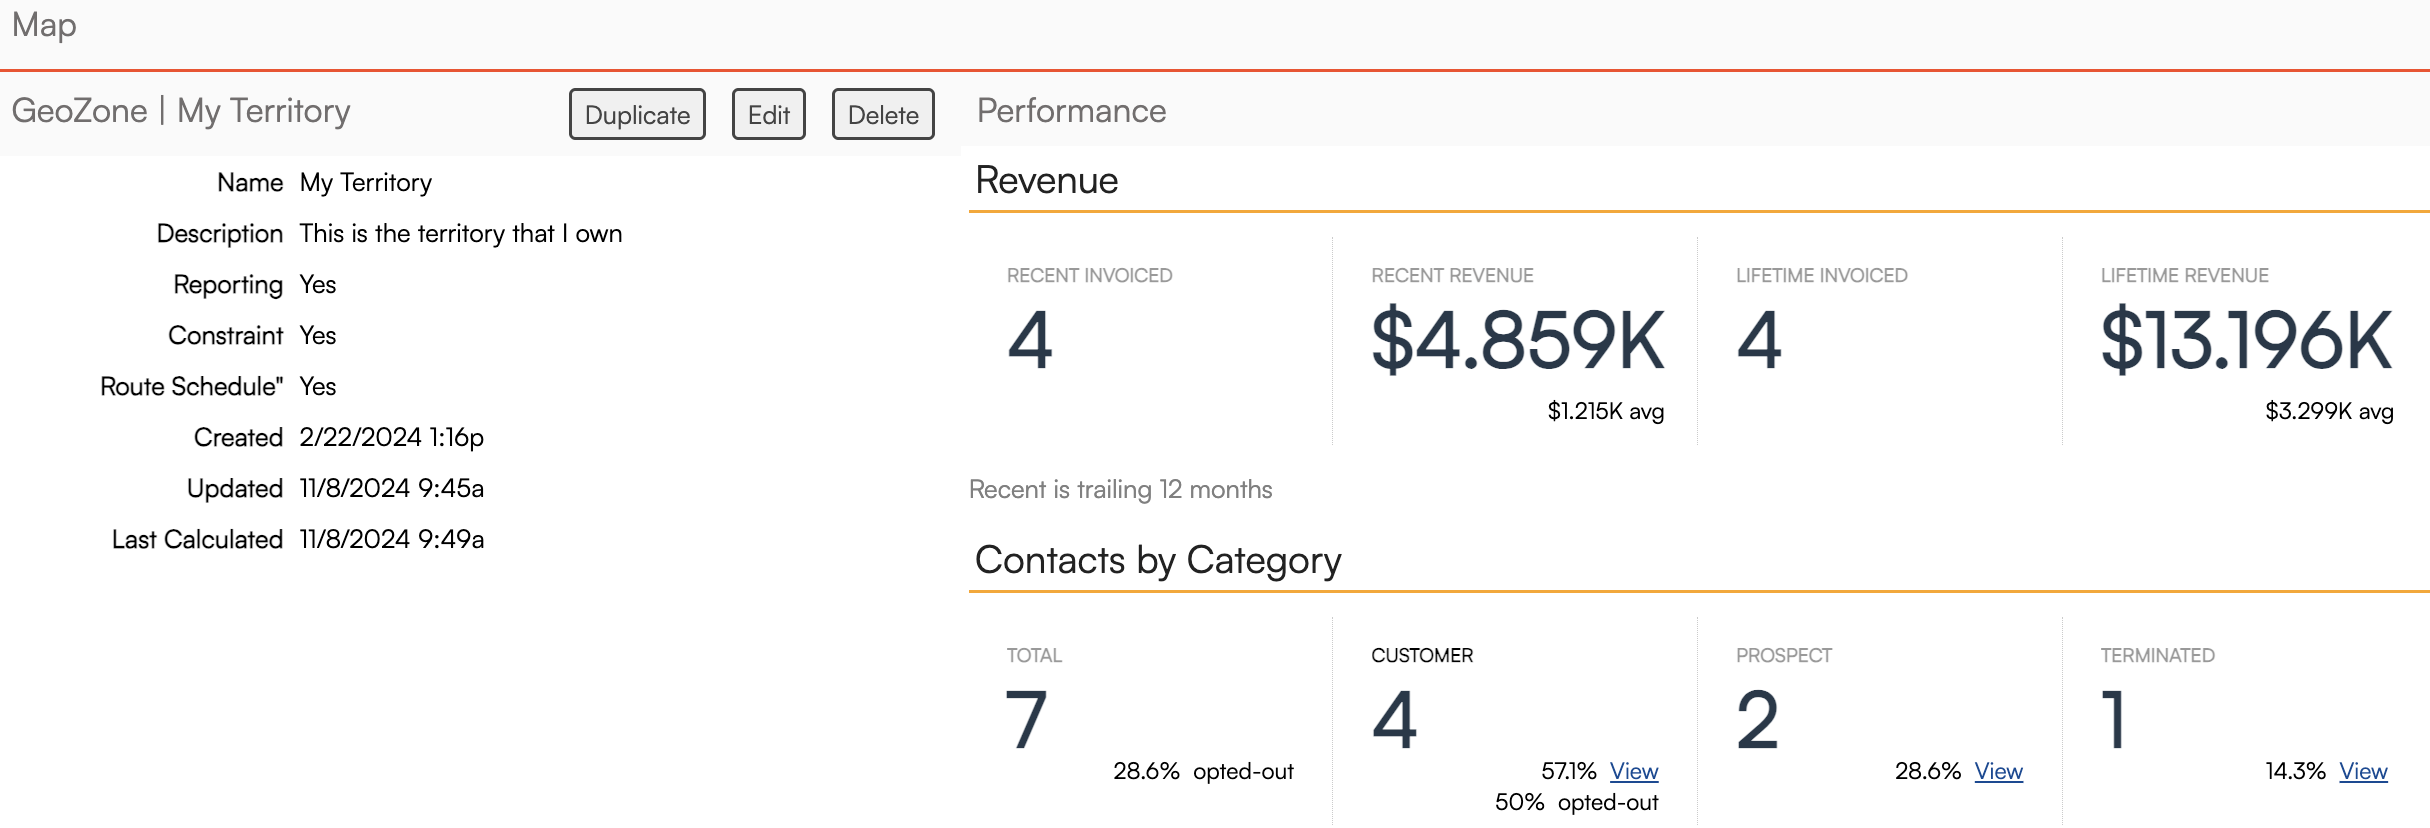
You can click a zone to jump to its details page. Here you get an overview of the contacts as well as the revenue generated in this territory.
Adding a GeoZone
To create a new geozone, go to Maps and select Geozones. Then click on Add....
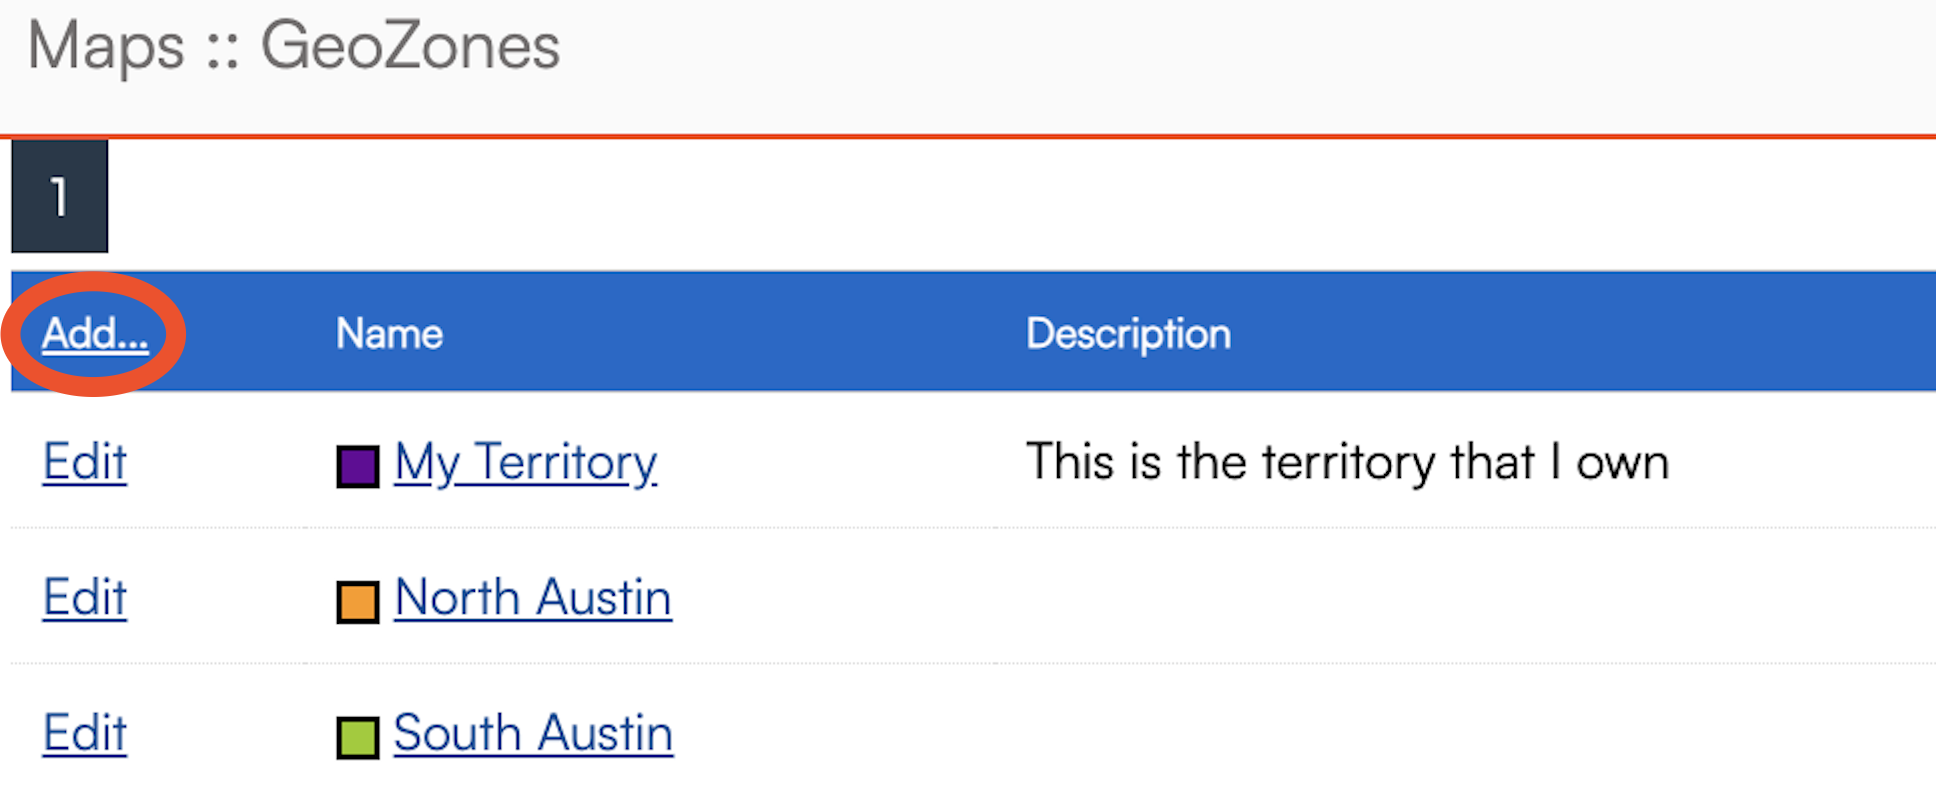
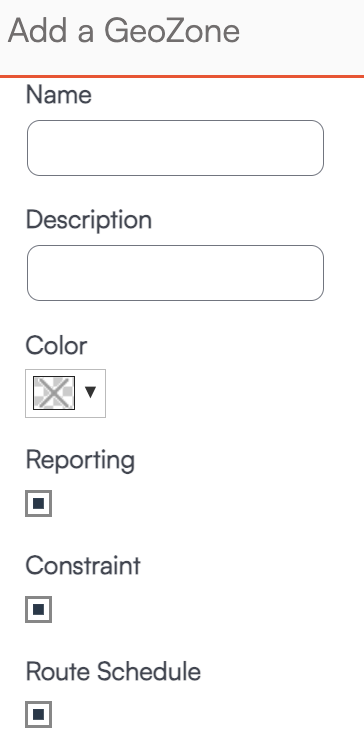
On the next page you will be prompted to provide a few basic details about your GeoZone.
- Name- Every GeoZone must have a unique name. We recommend keeping the names short, especially if you will be having lots of zones.
- Description- You have the option to provide a brief description of the GeoZone which can be viewed on the details page.
- Color- Choosing unique colors for your GeoZones helps you visualize them on your map. If you enable color blocks for GeoZones in Control Panel > Scheduling, you will also see this color display on appointments when viewing the calendar day view.
- Type- GeoZones can be designated as Reporting, Constraint or Route Schedule Zones
- Reporting - Used for generating reports based on location.
- Constraint - Used to create scheduling constraints. The more constraints you add, the less options you have for scheduling, so only use these when it makes business sense. For instance, you have a commercial property and you have to show up in the morning before they open.
- Route Schedule - Used to optimize service routes. If you don't route your tracks and just want to run reports on customers and performance, then you will want to turn this off.
Next, you will add a shape on the map that designates the location of this new GeoZone.
Drag and Drop Method
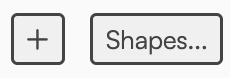
Use the plus sign to add a square to the map that you can manually adjust by clicking and dragging the dots.
- To add a new point to the polygon, click on one of the shaded points and drag it to the desired location. New segments will be created on either side of that point (so you'll see two new shaded points).
- The white points may be moved anywhere and won't create new line segments.
- Right click on a white point to remove it.

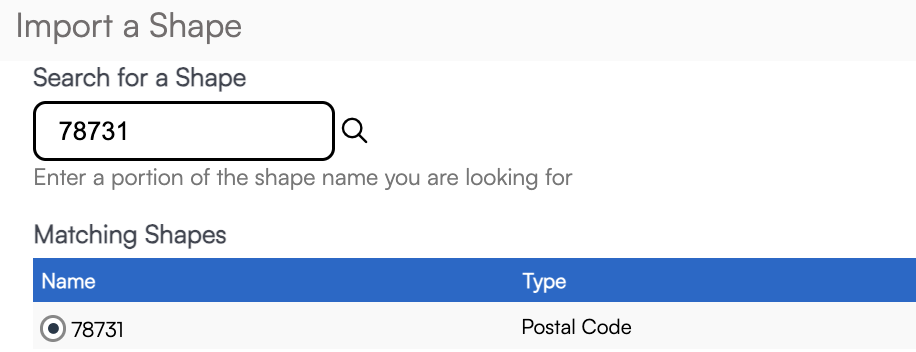
Add a Shape
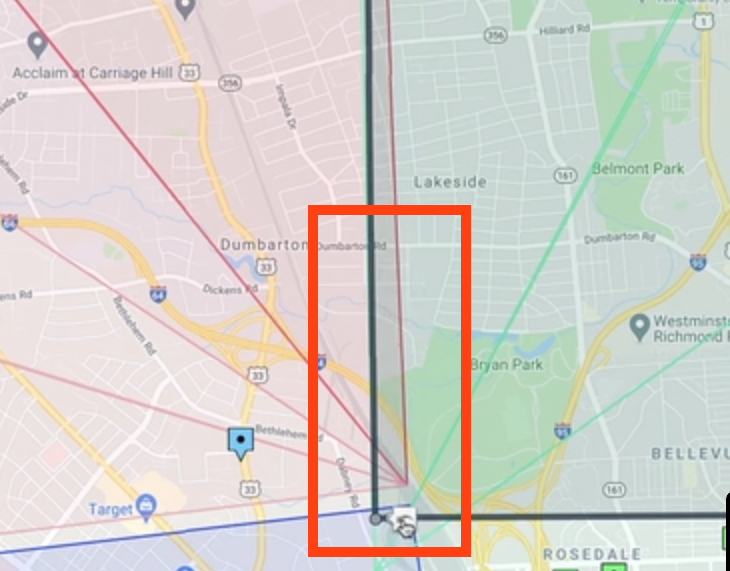
This may be confusing, since you are not actually choosing a shape, but use this button to add an exact postal code(s) to create your GeoZones.

Don't want a shape anymore? Right click on it to remove it. When you're done with your changes, click Save.
Editing a GeoZone
Within serviceminder you can add, delete, or merge GeoZones. This may be subject to brand permissions and restrictions, so consult your brand admin team if they have suggestions and best practices.
When making updates to existing GeoZones, it will NOT affect currently scheduled appointments. It will apply to any newly created appointments. So you can make adjustments without it messing up already generated routes for your agents in the field.
Using GeoZones
The Contact Details pages will show which zones a contact is a part of. A contact can be in multiple zones if you define multiple overlapping zones. If a contact is not in any zones, the line will not be displayed.

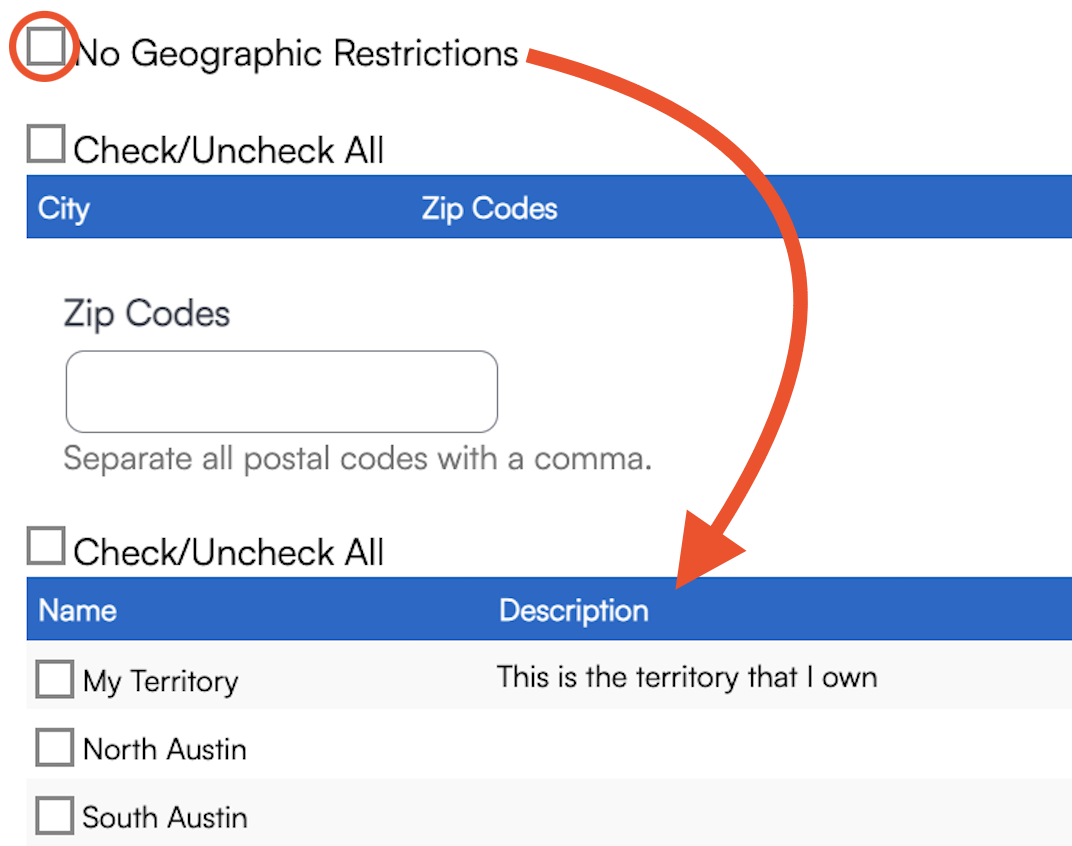
You can use GeoZones to limit which time slots are available for a contact when scheduling. In Control Panel > Service Agents you can edit a time slot in an agent's schedule and limit their availability by zip code or GeoZone. First, you will have to uncheck the box that says "No Geographic Restrictions." This will open up options to choose which zip codes and/or GeoZones where they are available to work appointments.
Strategies to Consider
- Keep your zones balanced, meaning you don't want a zone with 500 customers and one zone with 50 people.
- Further segment and break down larger zones as your business grows for more detailed route scheduling and reporting.
- How will you handle rescheduling, new customers, and weather days? Will you need to bake in a flex day each week for unforeseen circumstances or new work?
Reporting for GeoZones
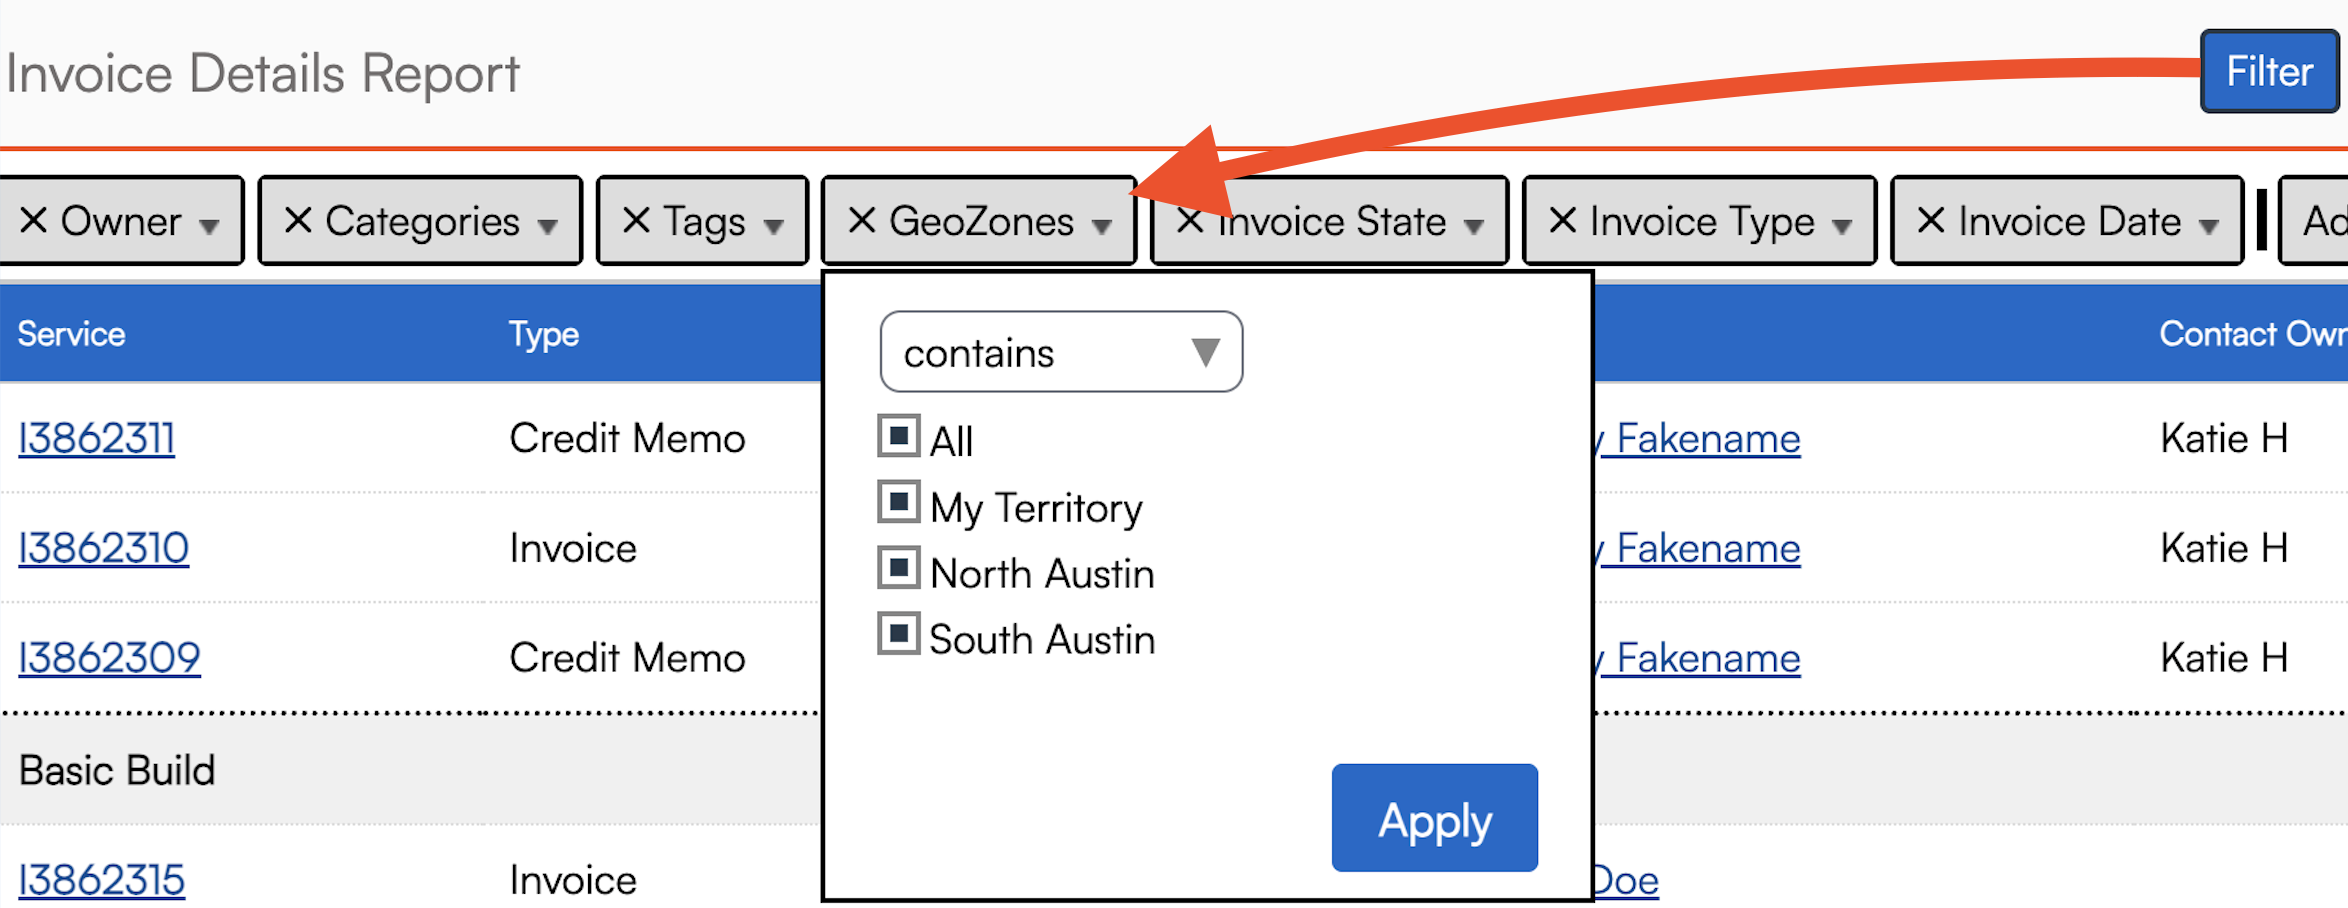
If you want to review reporting, we don't have one singular report to do with GeoZones but you can filter several reports to include specific locations. You may need to "Add" a filter from the dropdown list. The Pipeline report and Invoice Details report offer this type of filter. Or you can filter on the Invoices grid by GeoZones as well.
FAQs
Am I able to create GeoZones to categorize some of my service territory as very undesirable and prompt the call center to send the client directly to me?
Yes, you can do something like this with GeoZones. If you are looking to just label part of your territory, the best option is to draw the territory in using a shape and name it with the message you want the call center to see when they are putting in the address on the contact card. Any changes you make will need to be taught to your call center. For instance, you will need to instruct them to check the GeoZone, and what to do when they see the contact is in that area.
Why are jobs showing as out of territory on the revenue by accounting class report?
This happens when Contacts come over with just a zip code or missing location details. If the address isn't quite right when coming over to serviceminder, it won't geocode and the accounting class won't be assigned. When adding or updating an address, make sure to use the Google search field to geocode correctly and fix any misspellings or differences.
How can I view in SM revenue by a GeoZone?
You can filter some reports by GeoZones - you may need to "Add" a filter from the dropdown list. I would suggest looking first at the Invoice Details report so see if that provides the information you're looking for. Or you can filter on the Invoices grid by GeoZones as well.
