Overview
Discounts and markups allow you to adjust the pricing of items on your proposals or invoices, giving you flexibility to reward customers, account for special circumstances, or adjust for costs. In this section, we’ll guide you step by step on how to create a discount or markup, apply it to individual items or your entire proposal, and use bulk pricing to save time when working with multiple items.
Whether you want to offer a percentage off, increase a price, or apply pricing adjustments across multiple items, this guide will show you how to do it efficiently and accurately.
This article will review:
Video Tutorial
Create a Discount or Markup
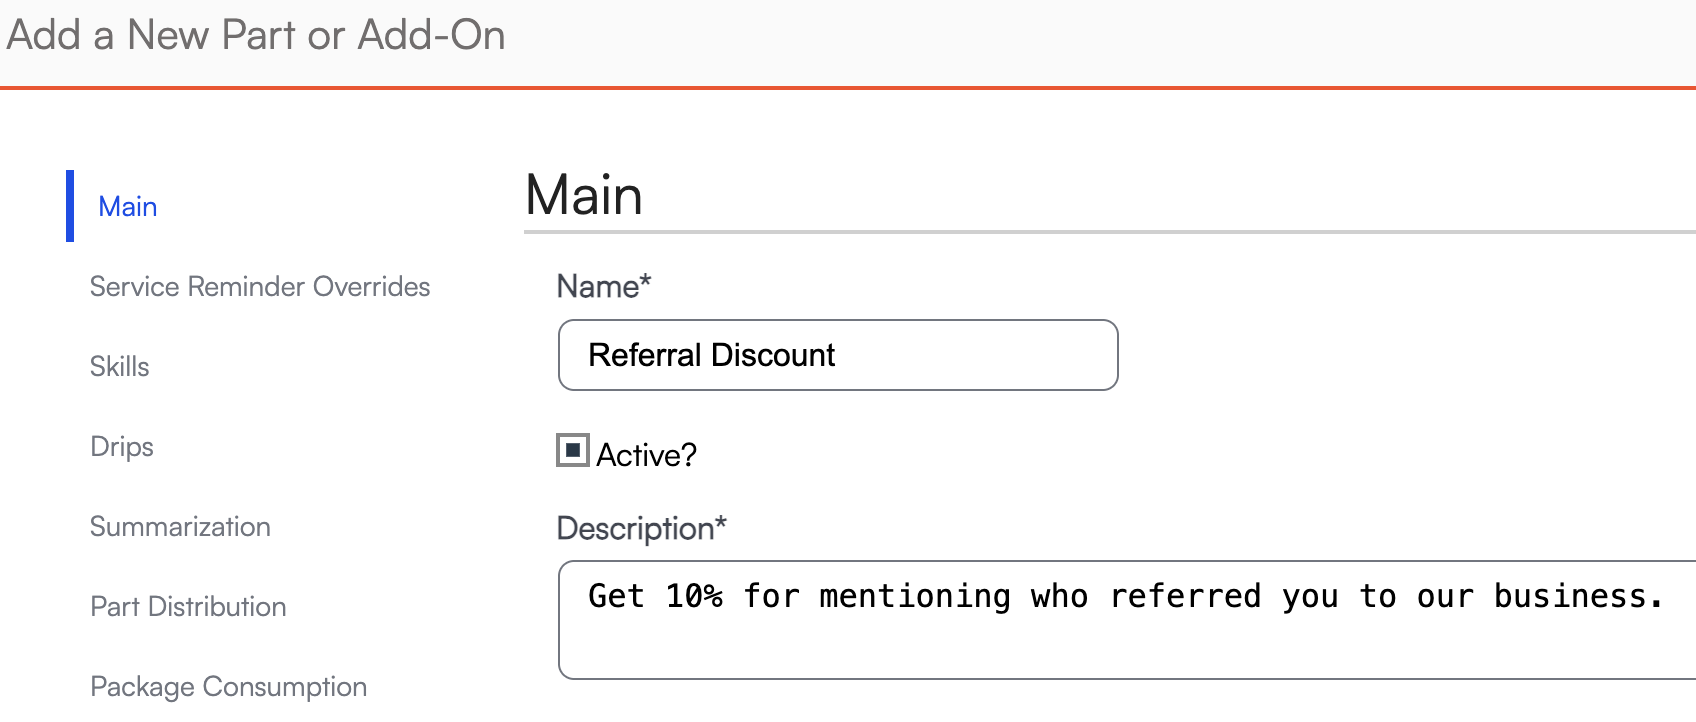
You need to create a part that will be used for your discount or markup.
1. Go to Control Panel > Parts, click Add. Give your part a name and description.
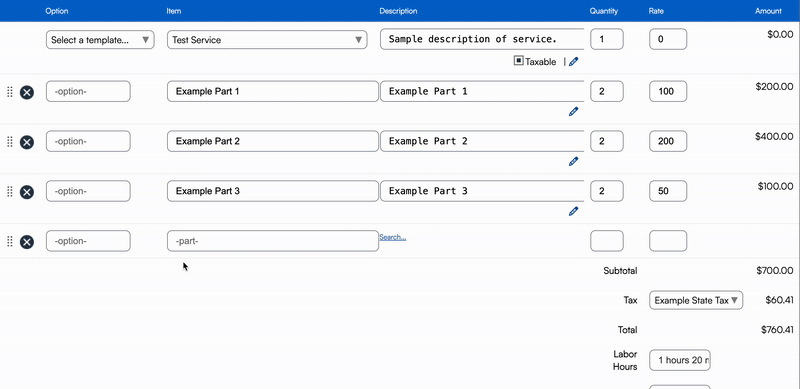
2. Go to your proposal or invoice and add the part you just created.
- In the Quantity field you're going to add your percentage then hit tab, the discount or markup will then auto calculate in the rate field.
- For a 10% discount enter 10%
- For a 10% markup enter -10%
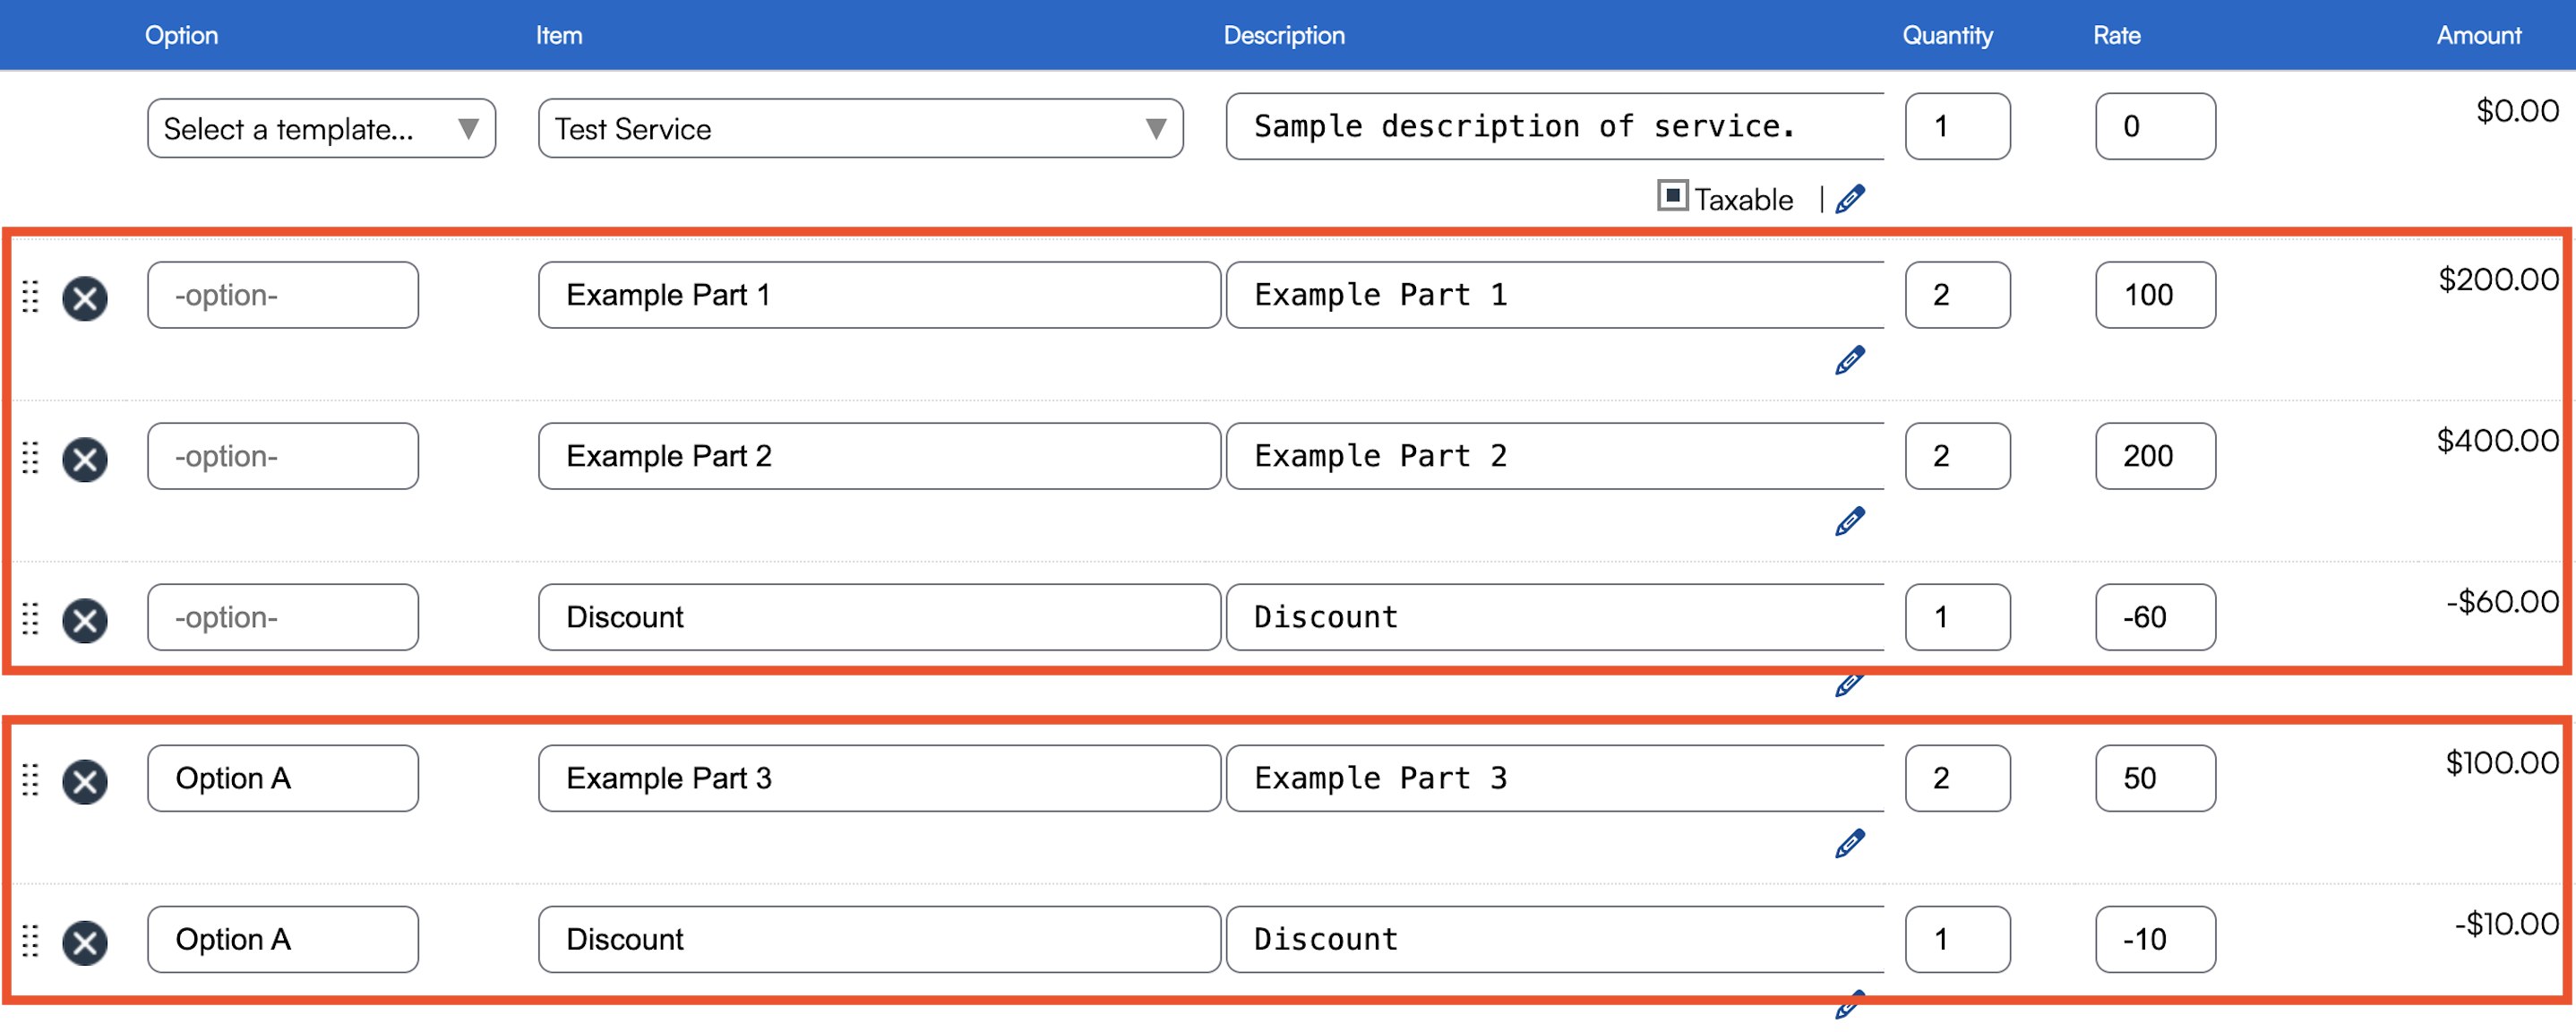
If you also have Options on your proposal and you want the discount/markup to apply to all items on the proposal (options and regular items) you need to add the discount/markup part twice. Once without text in the option field and once with the matching option name in the field.
Bulk Apply Pricing
When you create a Discount part. you will see the Apply Pricing button at the bottom of the Part Details page.

Selecting that option will open a section allowing you to specify how you want to bulk apply that price.
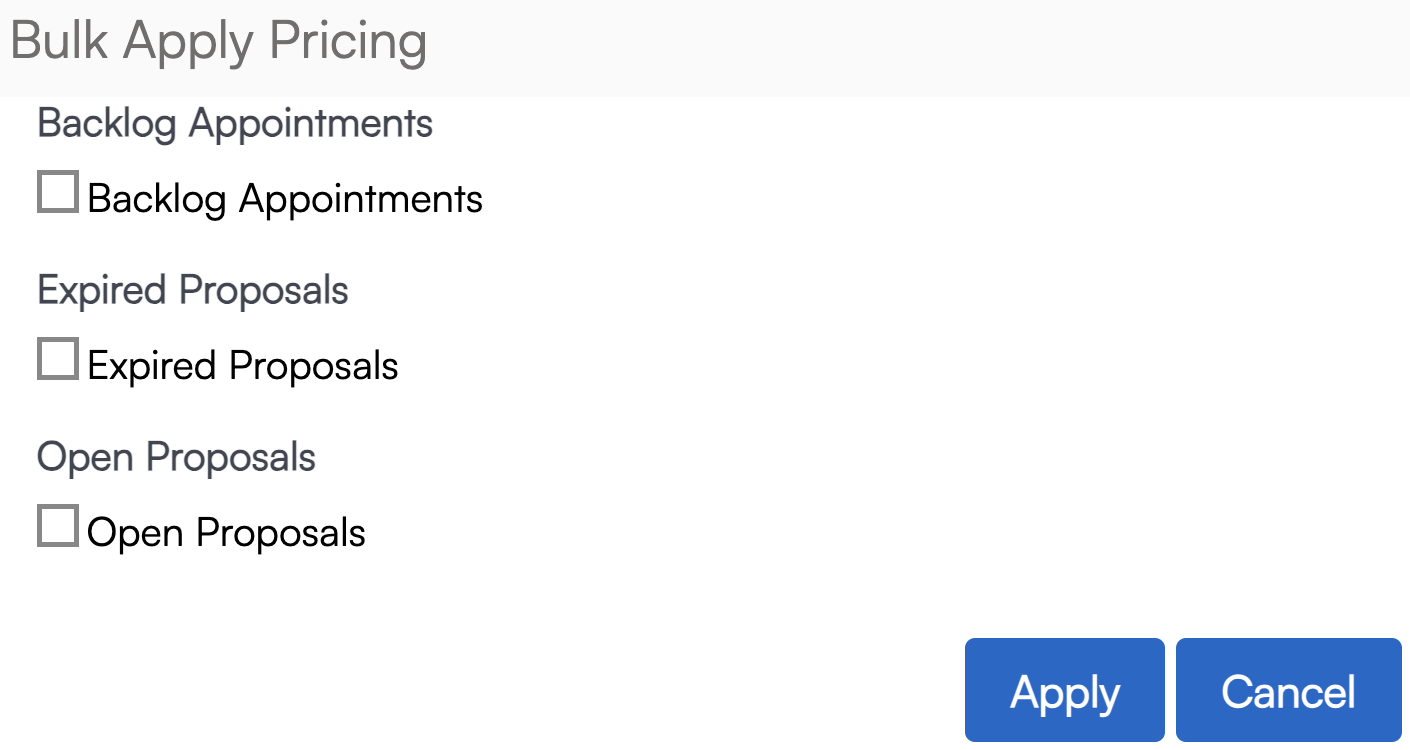
Choose to apply the pricing to any of the following that have that part on them:
- Backlog Appointments
- Expired Proposals
- Open Proposals
This will work the same way if you are using a part tied to an offer code for email marketing. Learn more about Offer Codes.
Discount Behavior on Per-Appointment Payment Plans
When a proposal uses a per-appointment payment plan with a duration- or count-based deposit, percentage-based discounts are applied only while available credits remain.
When an appointment is completed, the system checks for available credits, credit memos, or deposits. If no remaining credits are available at either the proposal or contact level:
- The percentage-based discount is removed from the completed appointment
- The discount is also removed from any future scheduled appointments tied to that proposal
- This occurs whether the appointment finishes with a remaining balance due or simply no remaining credit
This behavior applies only when all of the following are true:
- The appointment includes a percentage-based discount
- The appointment is linked to a proposal with a per-appointment payment plan
- The payment plan uses a duration- or count-based deposit
- There are no open credits, credit memos, or deposits remaining
This ensures discounts are not applied beyond the value of the original credits or deposits and prevents unintended discounts on future appointments once prepaid value has been fully used.
